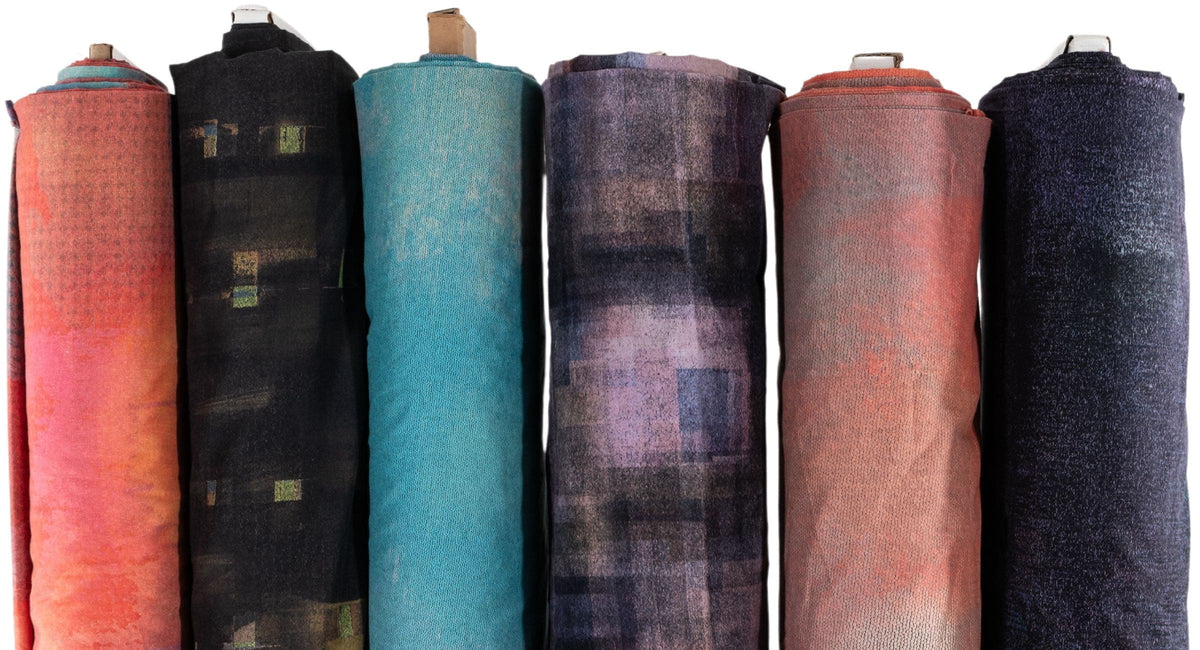
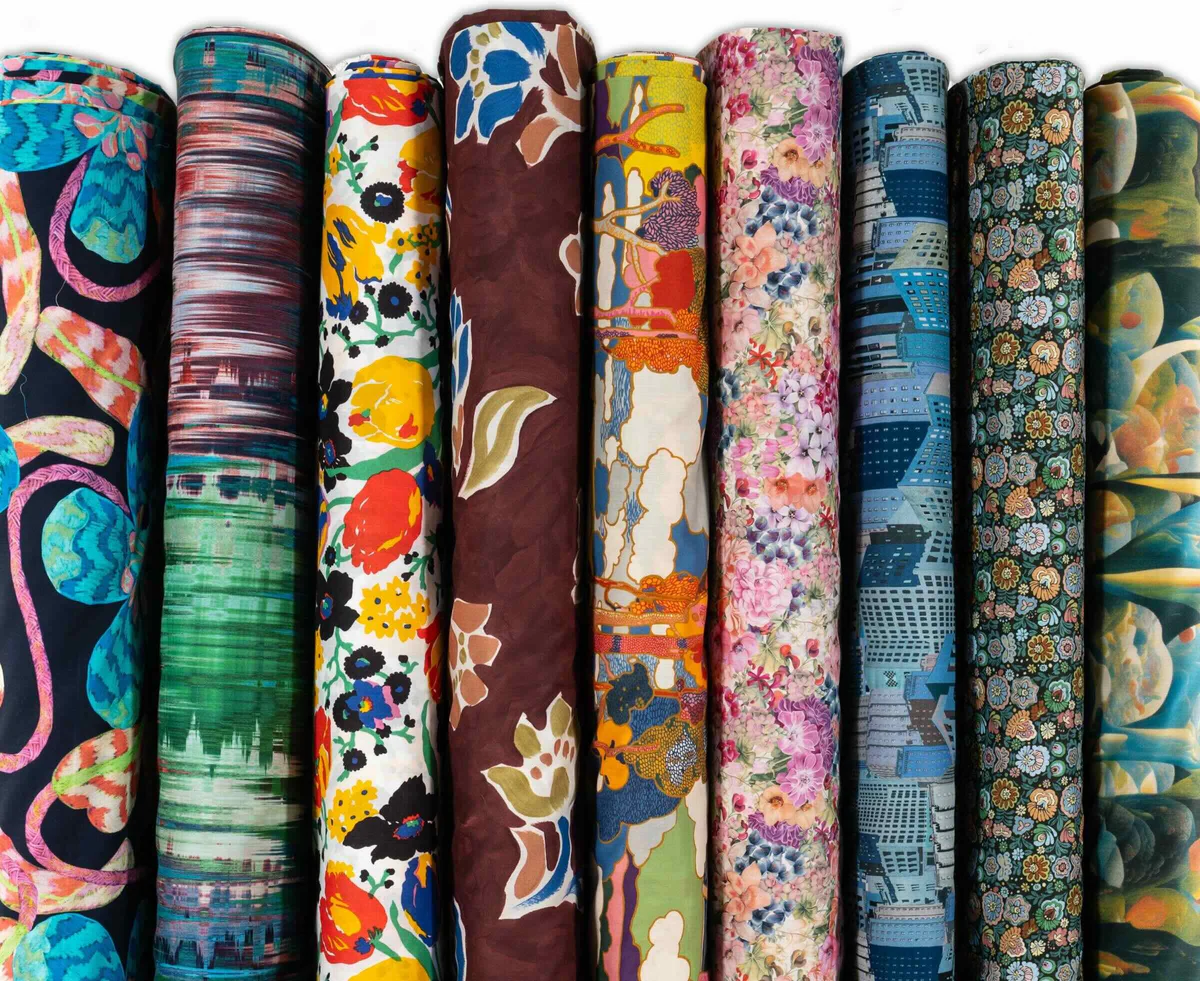
JACQUARDS


- Regular Price
- $ 48.00 / YARD
- Sale Price
- $ 48.00 / YARD
- Regular Price
-
$ 0.00 / YARD
- Unit Price
- per


- Regular Price
- $ 48.00 / YARD
- Sale Price
- $ 48.00 / YARD
- Regular Price
-
$ 0.00 / YARD
- Unit Price
- per


- Regular Price
- $ 48.00 / YARD
- Sale Price
- $ 48.00 / YARD
- Regular Price
-
$ 0.00 / YARD
- Unit Price
- per


- Regular Price
- $ 48.00 / YARD
- Sale Price
- $ 48.00 / YARD
- Regular Price
-
$ 0.00 / YARD
- Unit Price
- per


- Regular Price
- $ 48.00 / YARD
- Sale Price
- $ 48.00 / YARD
- Regular Price
-
$ 0.00 / YARD
- Unit Price
- per


- Regular Price
- $ 48.00 / YARD
- Sale Price
- $ 48.00 / YARD
- Regular Price
-
$ 0.00 / YARD
- Unit Price
- per


- Regular Price
- $ 22.00 / YARD
- Sale Price
- $ 22.00 / YARD
- Regular Price
-
$ 0.00 / YARD
- Unit Price
- per


- Regular Price
- $ 30.00 / YARD
- Sale Price
- $ 30.00 / YARD
- Regular Price
-
$ 0.00 / YARD
- Unit Price
- per
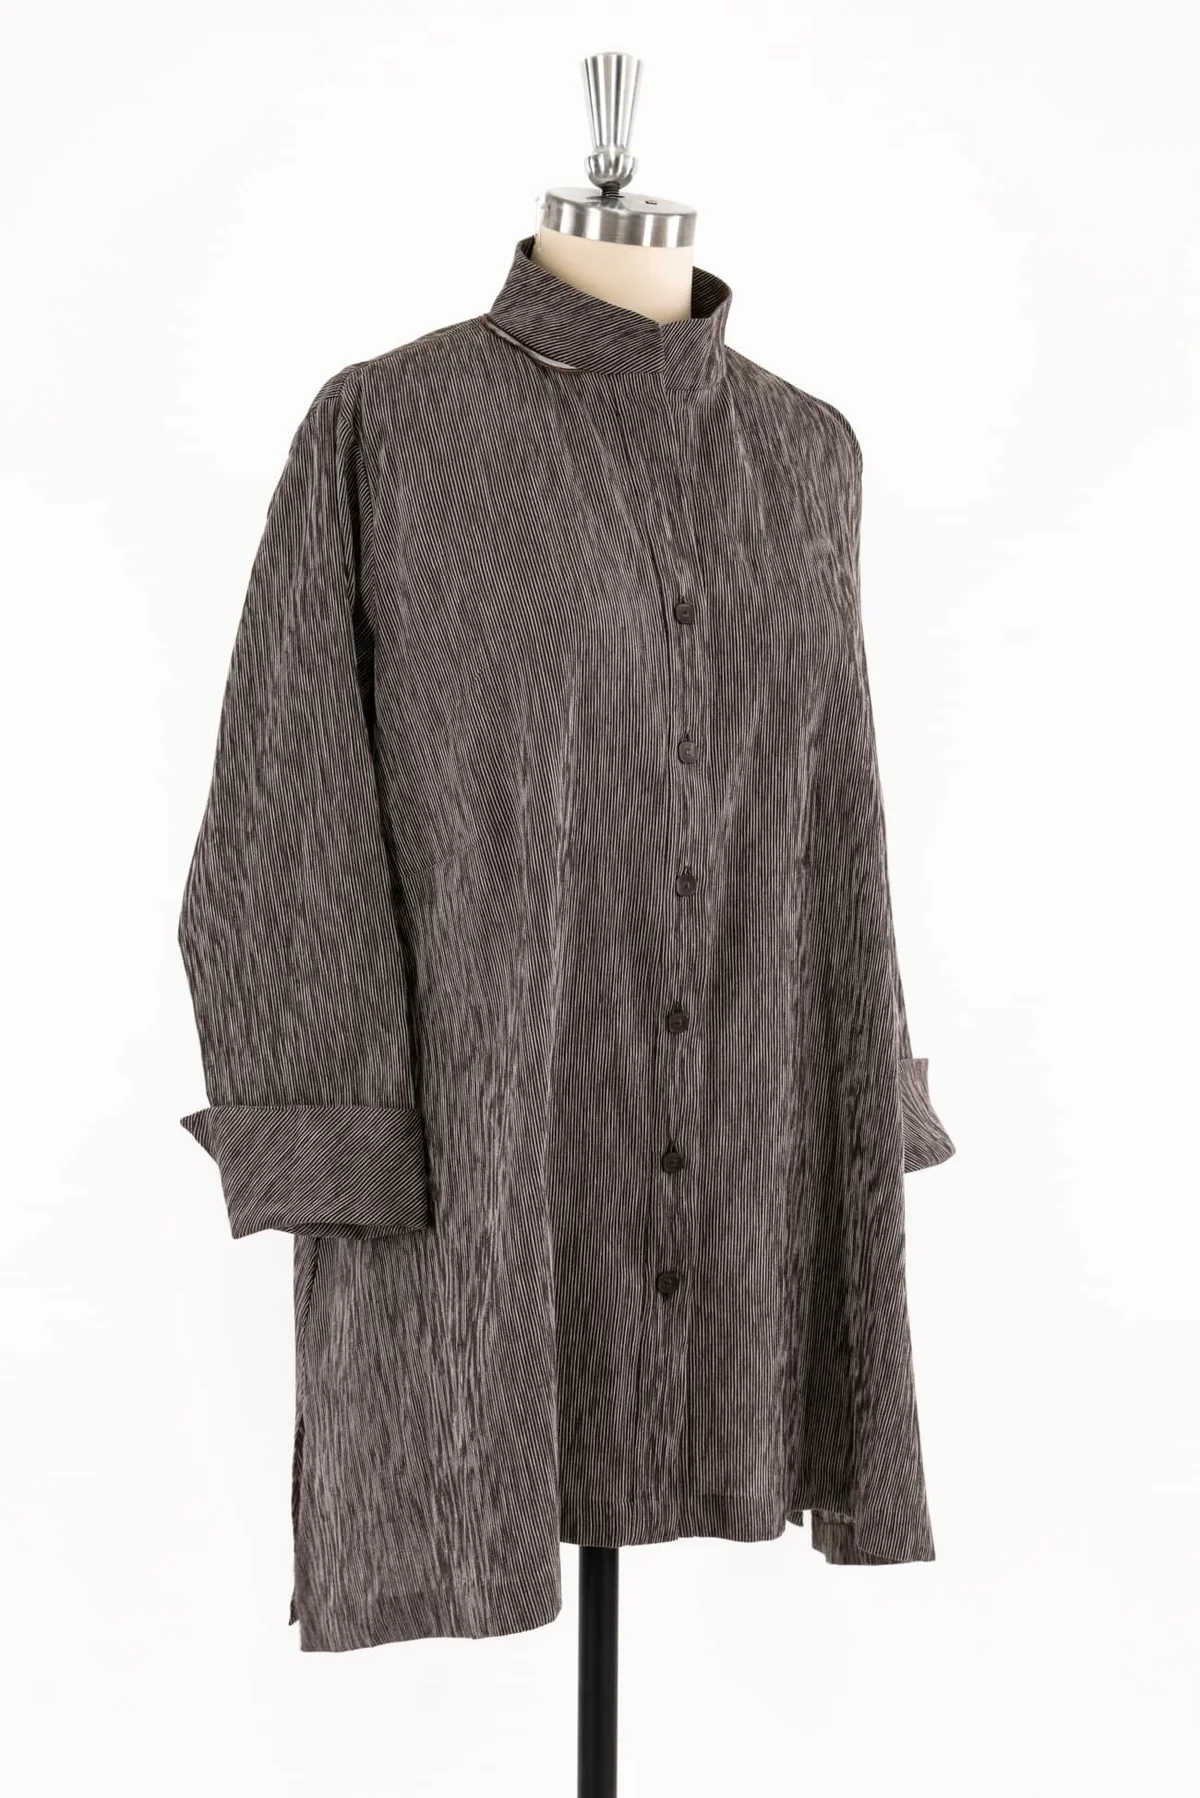
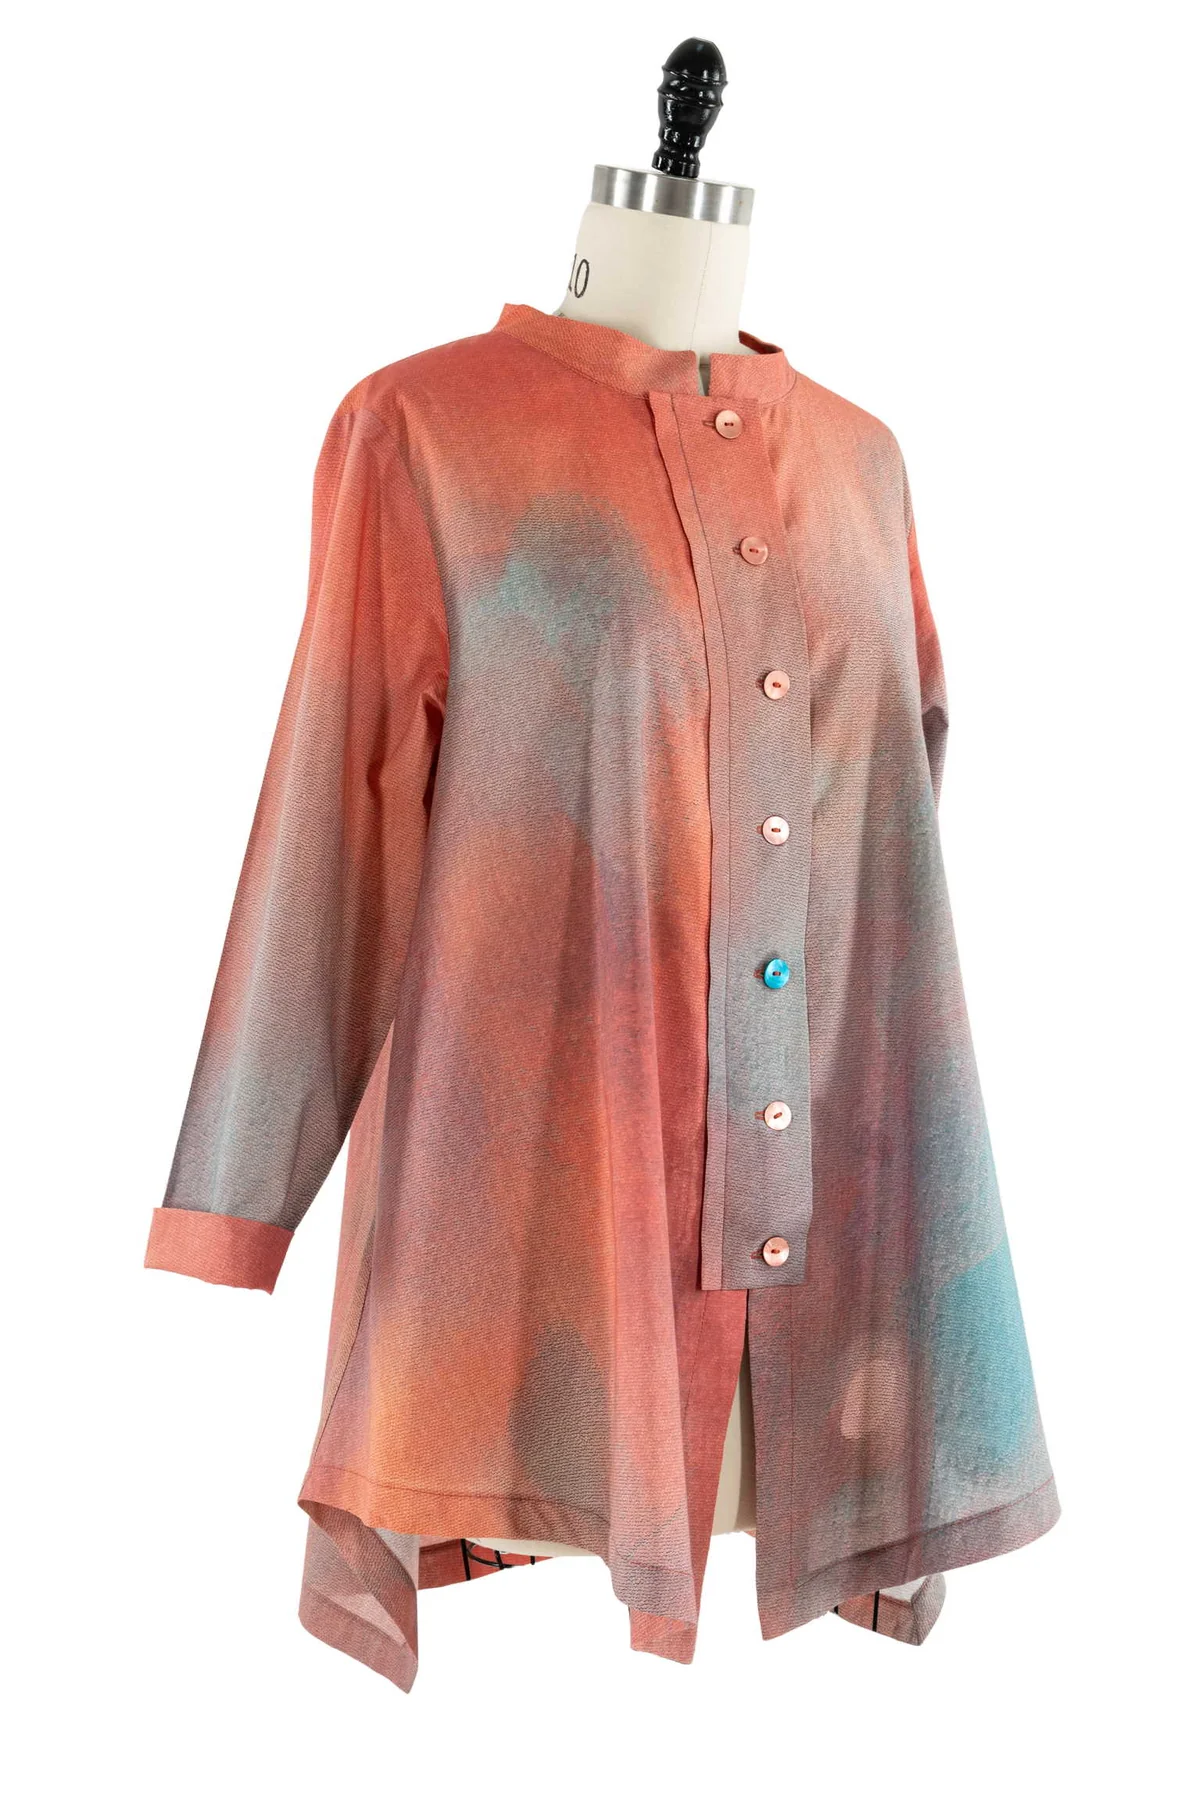
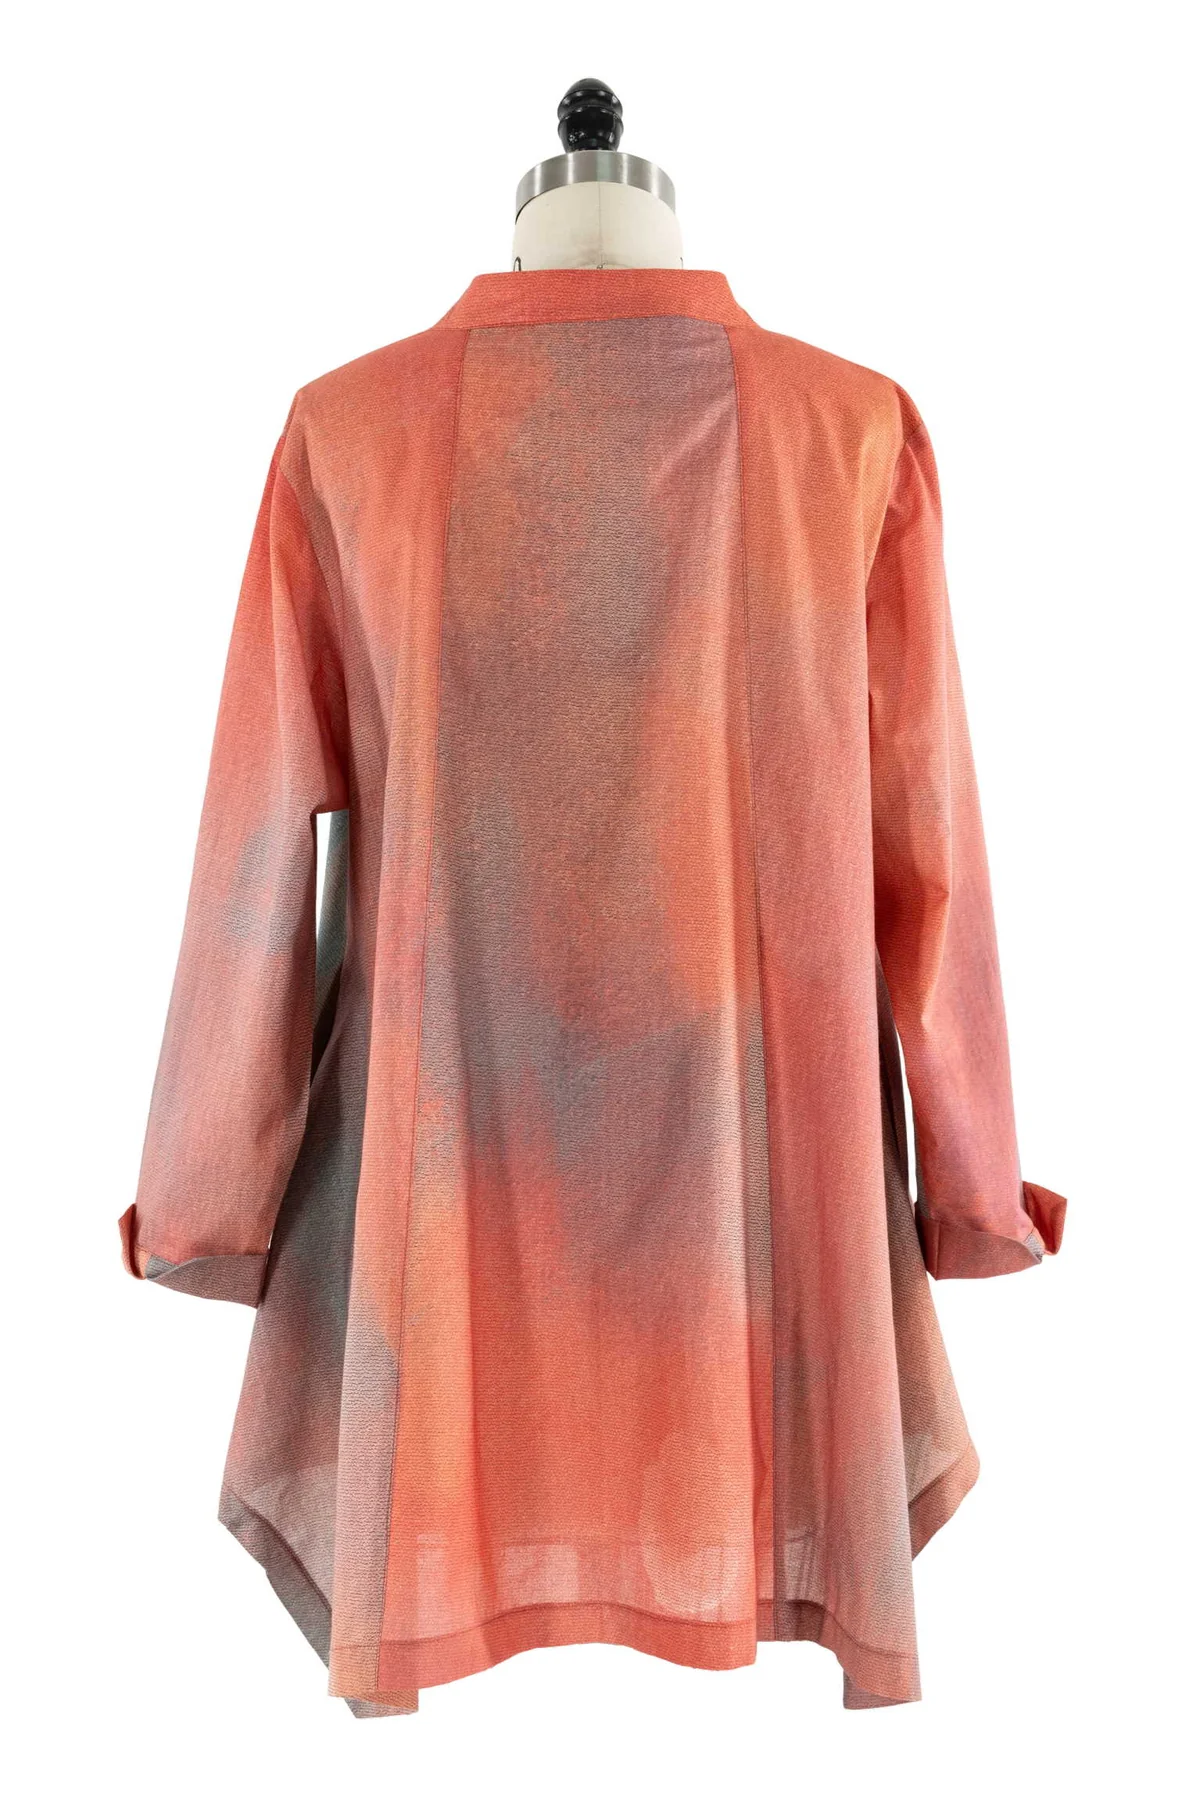
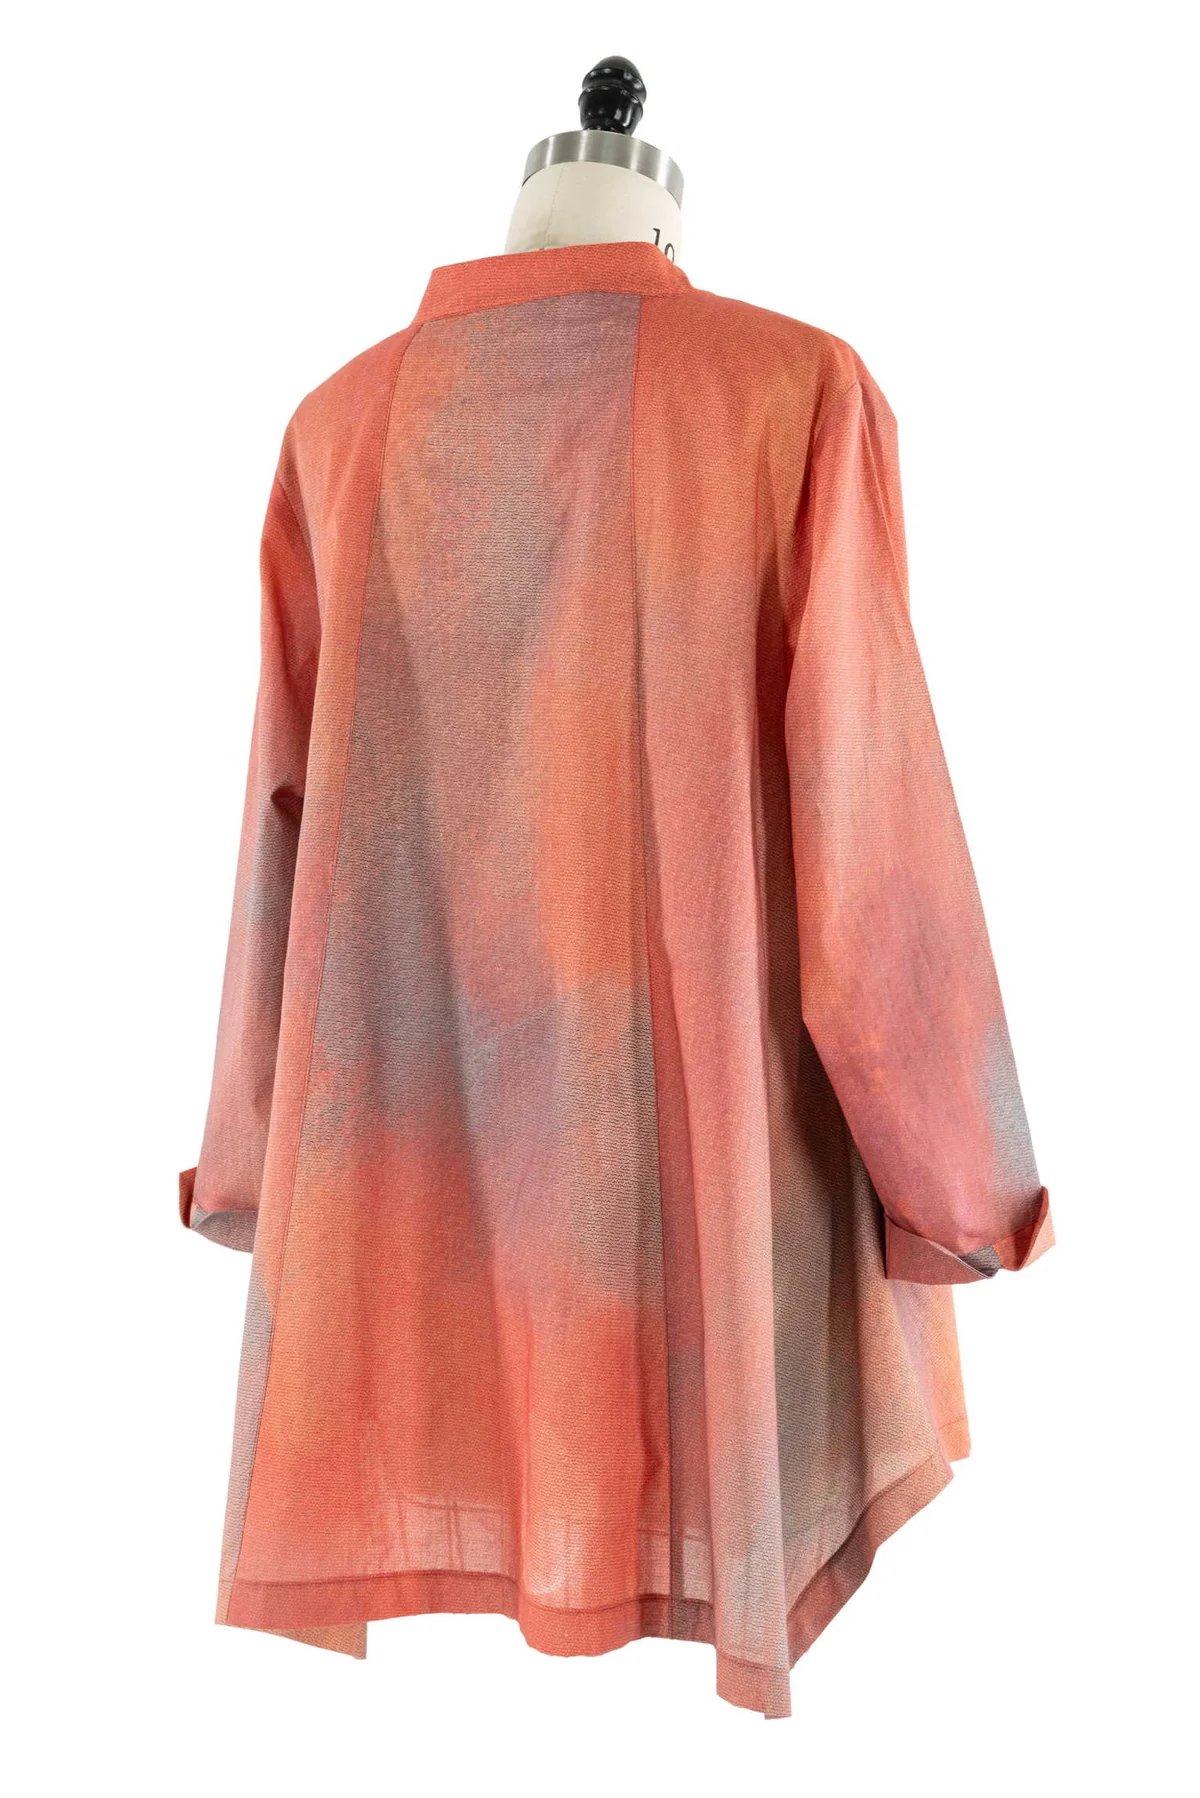
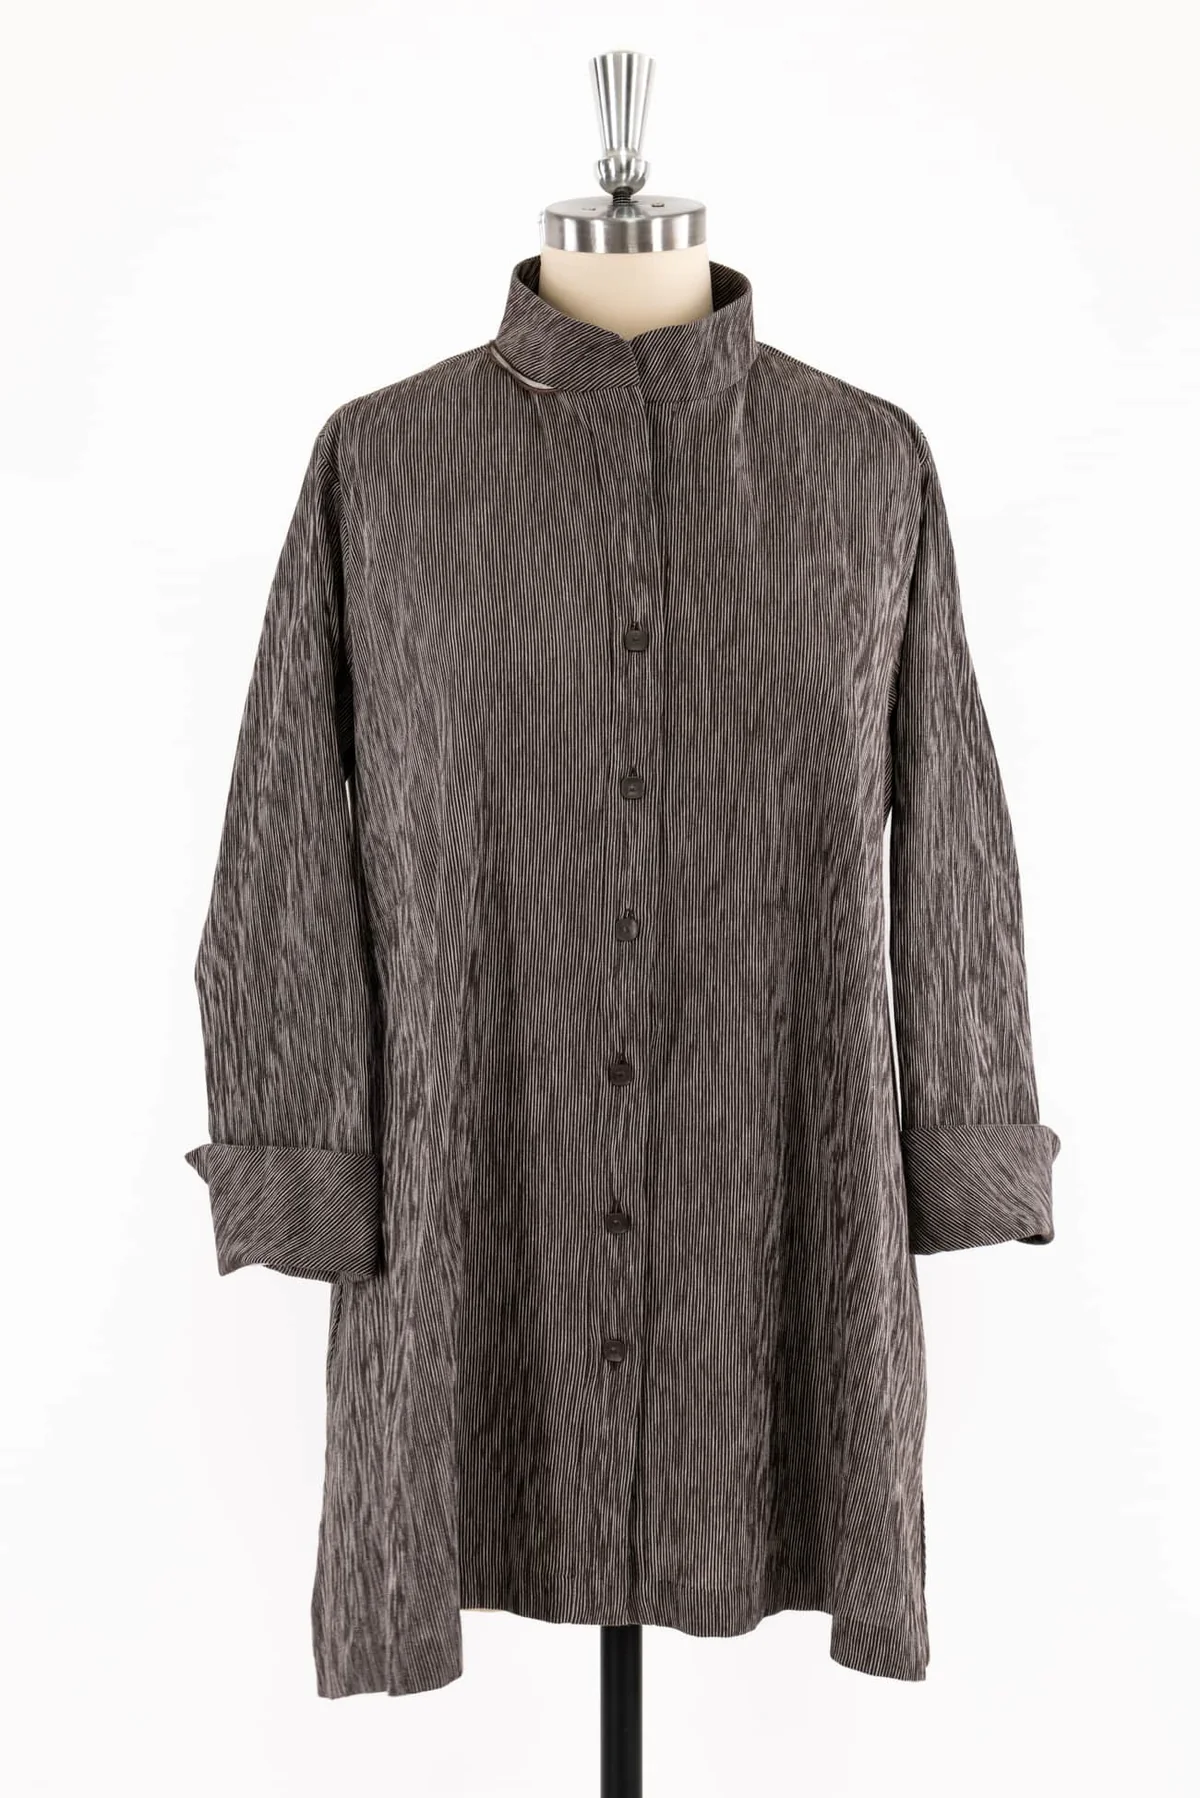
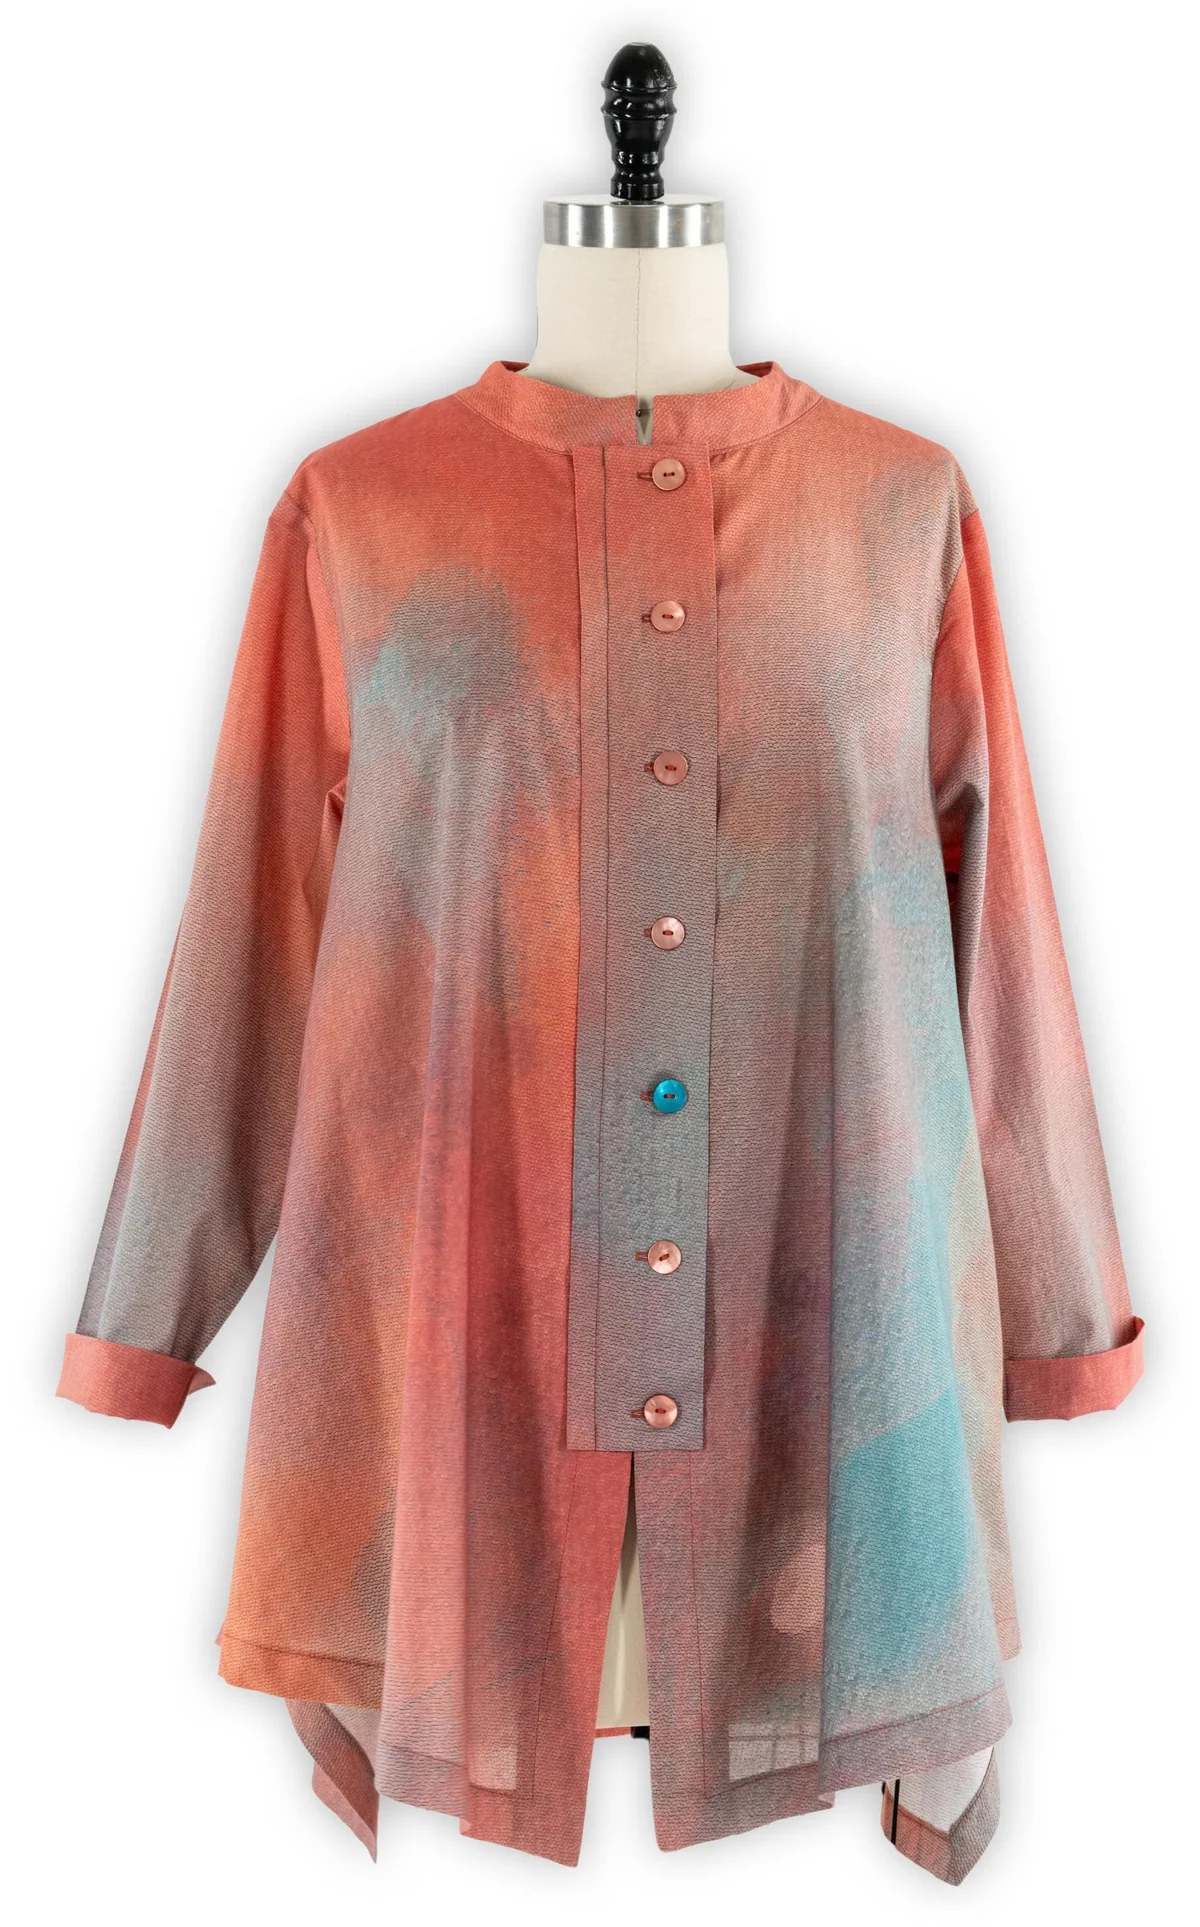
B6771 IN SYCAMORE JAPANESE COTTON
Katherine used Sycamore, a lightly textured Japanese cotton paired with a revised version of Butterick 6771. The sweet surprise is how beautifully this fabric drapes and hangs. When Katherine auditioned buttons, another surprise was how well a geometric metal button hit just the right note.
Katherine made some simple pattern adjustments as she cut and sewed:
- Used the right front & back of version A.
- Did a FBA and lengthened to 1” below fingertip length.
- Did not use the band; lengthened both pieces so they were the same.
- Cut the side seams about midway between the front & back ‘flare’. Added some flare to the back, removed some flare from the front.
- Added a slit to the bottom edge at the side seam.
- Used the fabric selvege to the outside of the back seam.
- Adjusted the shoulder width so the sleeve placement worked better.
- Added a fold back ‘cuff’ cut on the bias to each sleeve.
- Used only the collar stand, cut on the bias, added 1/2” to the stand height.

DANISH COLLECTION

- Regular Price
- $ 35.00 / YARD
- Sale Price
- $ 35.00 / YARD
- Regular Price
-
$ 0.00 / YARD
- Unit Price
- per


- Regular Price
- $ 35.00 / YARD
- Sale Price
- $ 35.00 / YARD
- Regular Price
-
$ 0.00 / YARD
- Unit Price
- per


- Regular Price
- $ 35.00 / YARD
- Sale Price
- $ 35.00 / YARD
- Regular Price
-
$ 0.00 / YARD
- Unit Price
- per


- Regular Price
- $ 35.00 / YARD
- Sale Price
- $ 35.00 / YARD
- Regular Price
-
$ 0.00 / YARD
- Unit Price
- per


- Regular Price
- $ 35.00 / YARD
- Sale Price
- $ 35.00 / YARD
- Regular Price
-
$ 0.00 / YARD
- Unit Price
- per

- Regular Price
- $ 35.00 / YARD
- Sale Price
- $ 35.00 / YARD
- Regular Price
-
$ 0.00 / YARD
- Unit Price
- per


- Regular Price
- $ 35.00 / YARD
- Sale Price
- $ 35.00 / YARD
- Regular Price
-
$ 0.00 / YARD
- Unit Price
- per


- Regular Price
- $ 35.00 / YARD
- Sale Price
- $ 35.00 / YARD
- Regular Price
-
$ 0.00 / YARD
- Unit Price
- per
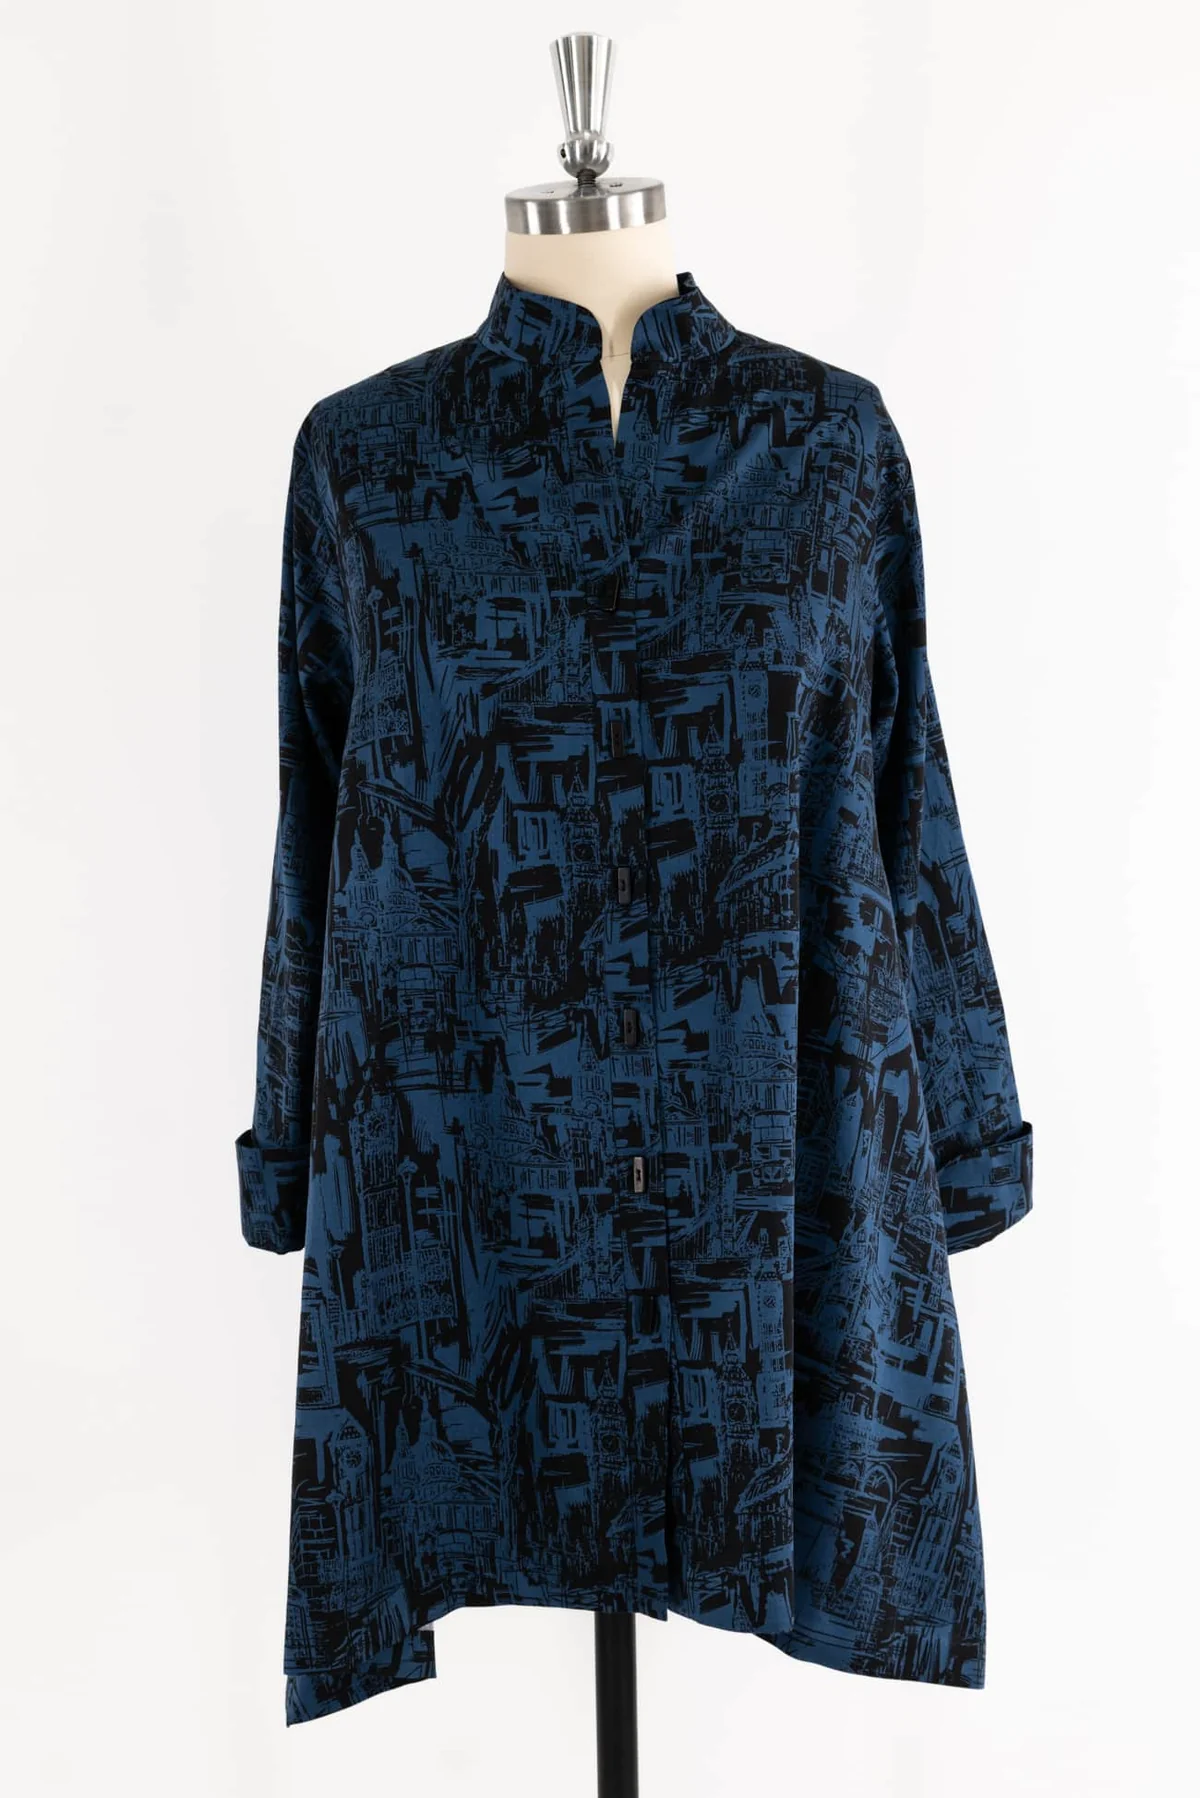
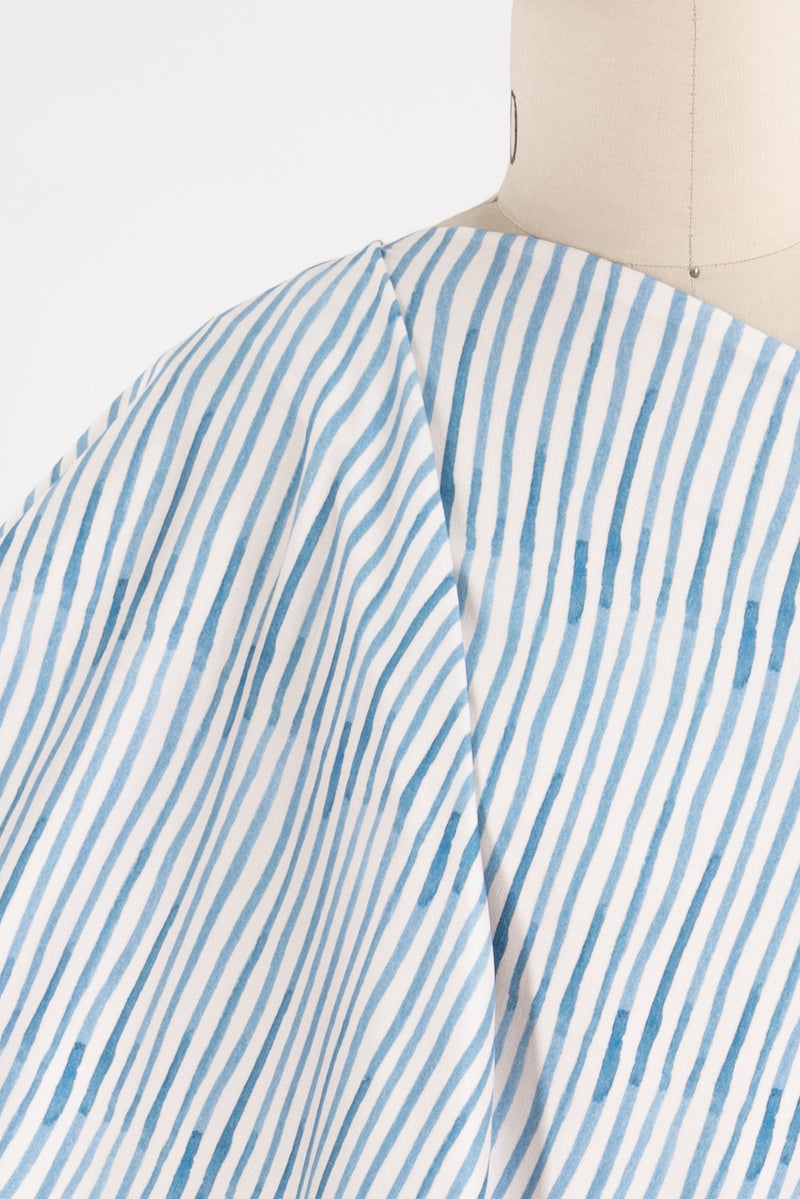
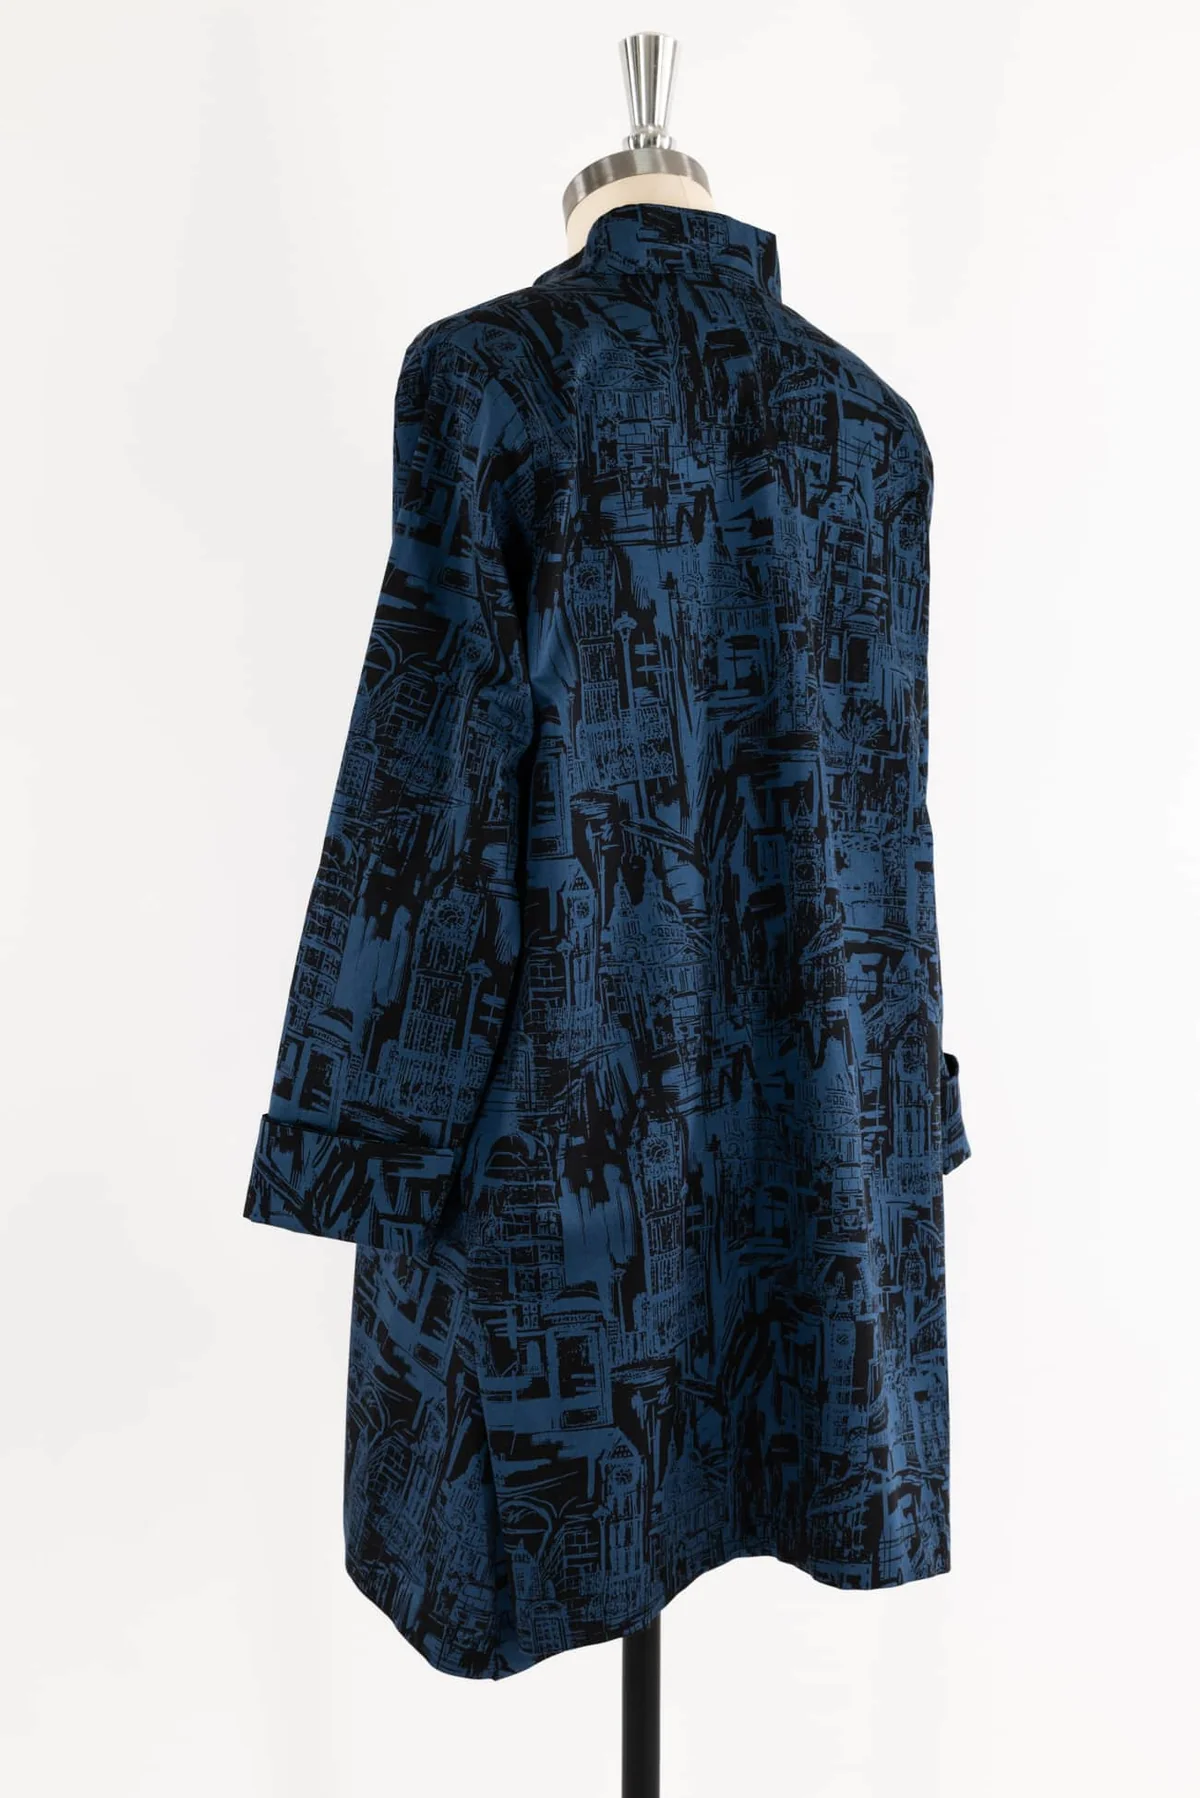
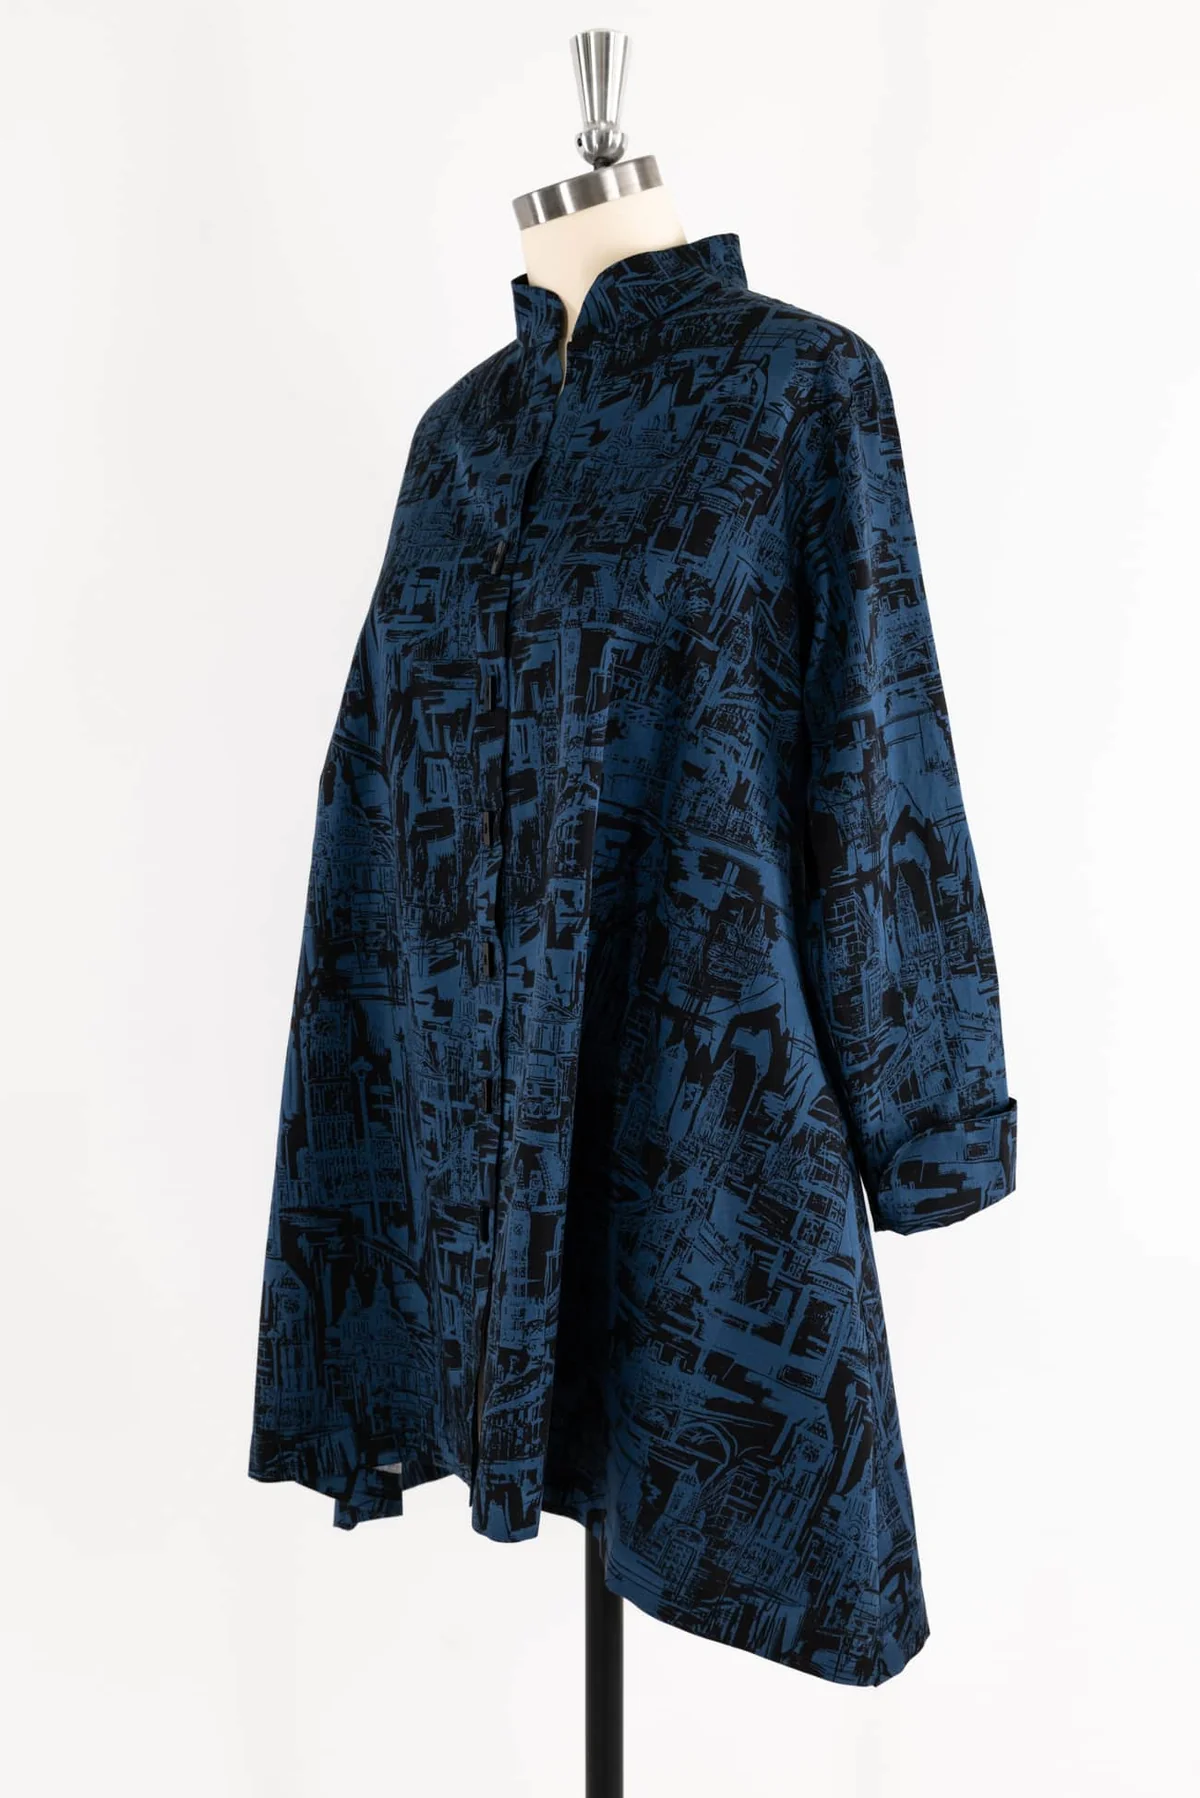
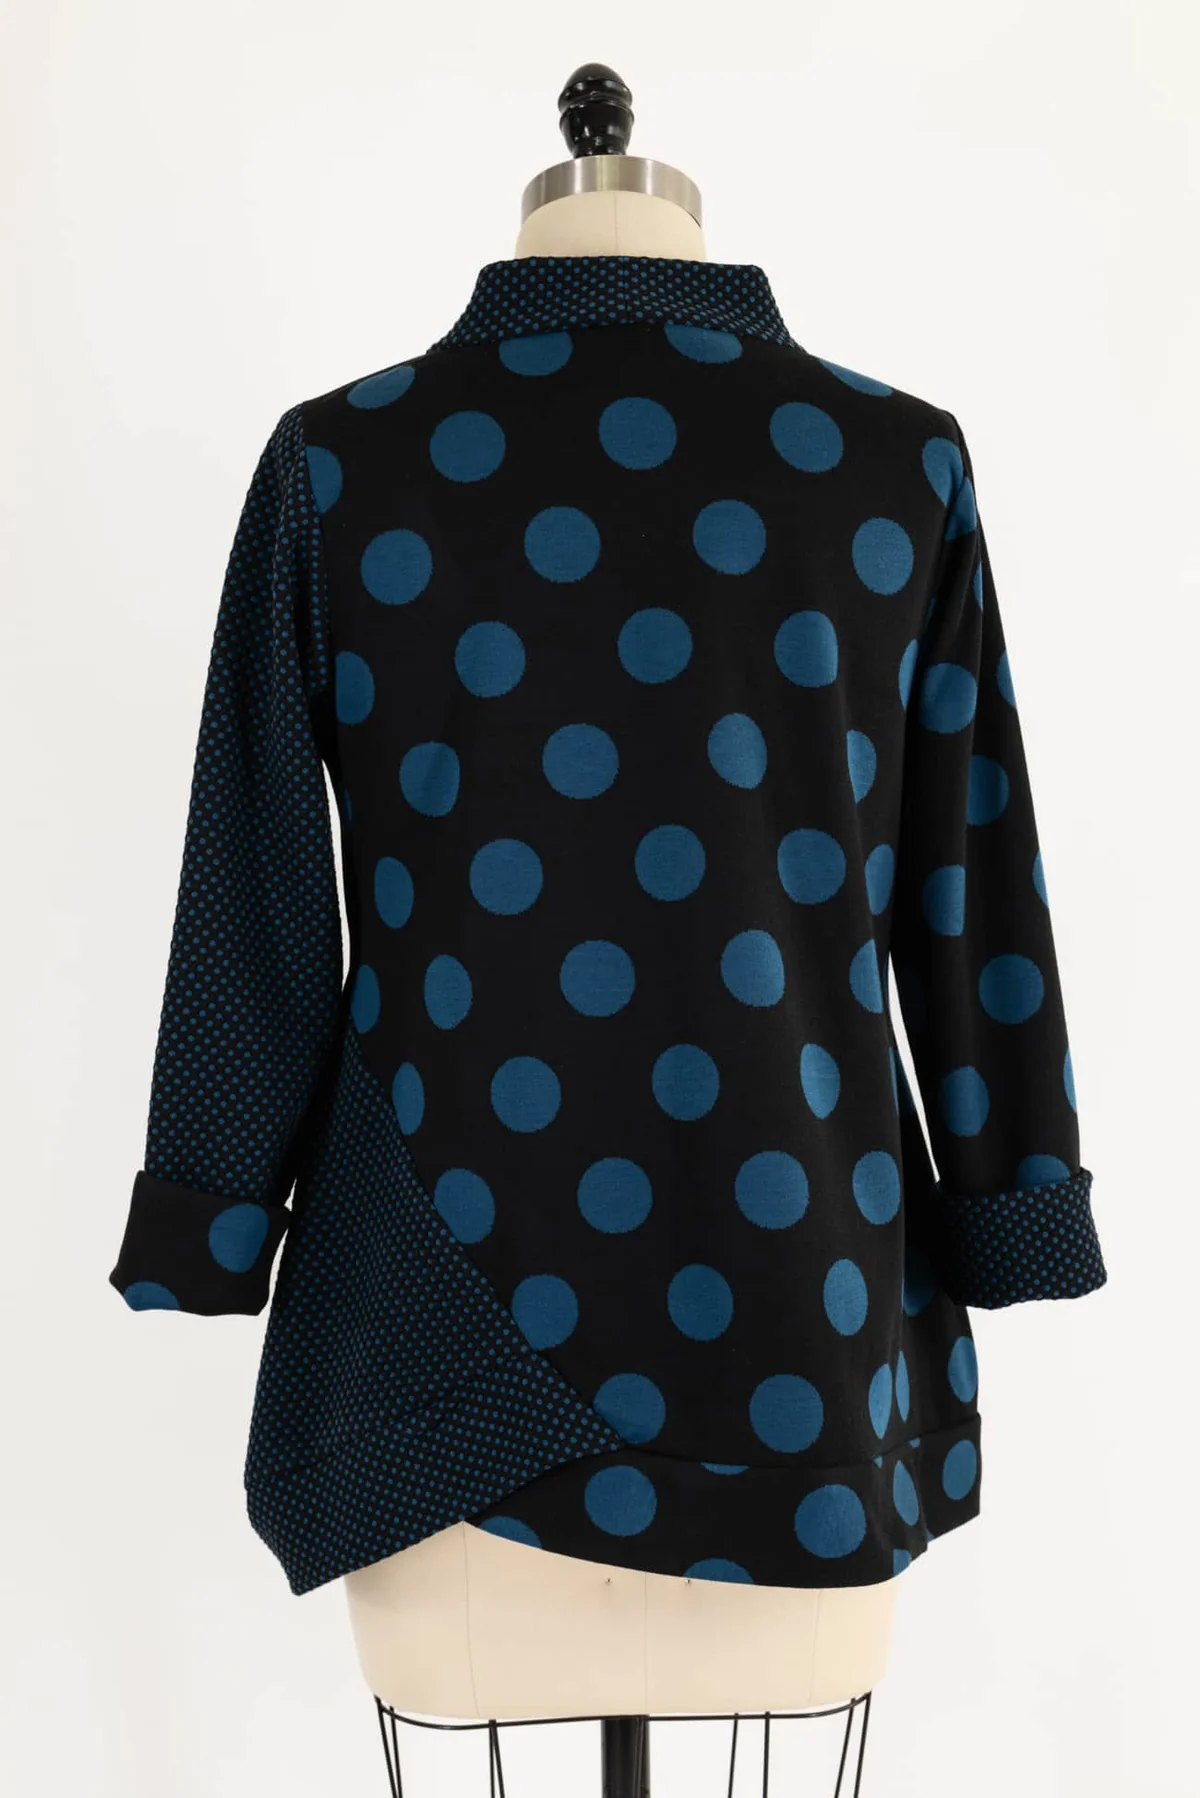
B6771 in Midnight Blues Japanese Cotton
Made by Katherine for springtime weather to come, B6771, in our Midnight Blues Japanese cotton. Love this print and how it works with black and denim. We love both the quality of Japanese cotton and the unique creative prints like this sophisticated rendering of urban buildings.
- Katherine's pattern hacks:
- Made 2 left fronts, eliminated the lower band and lengthened the width of the band.
- Eliminated the collar, used just the collar stand.
- Added a bust dart.
- Added fold back cuffs.
- Lucked out with the perfect buttons!
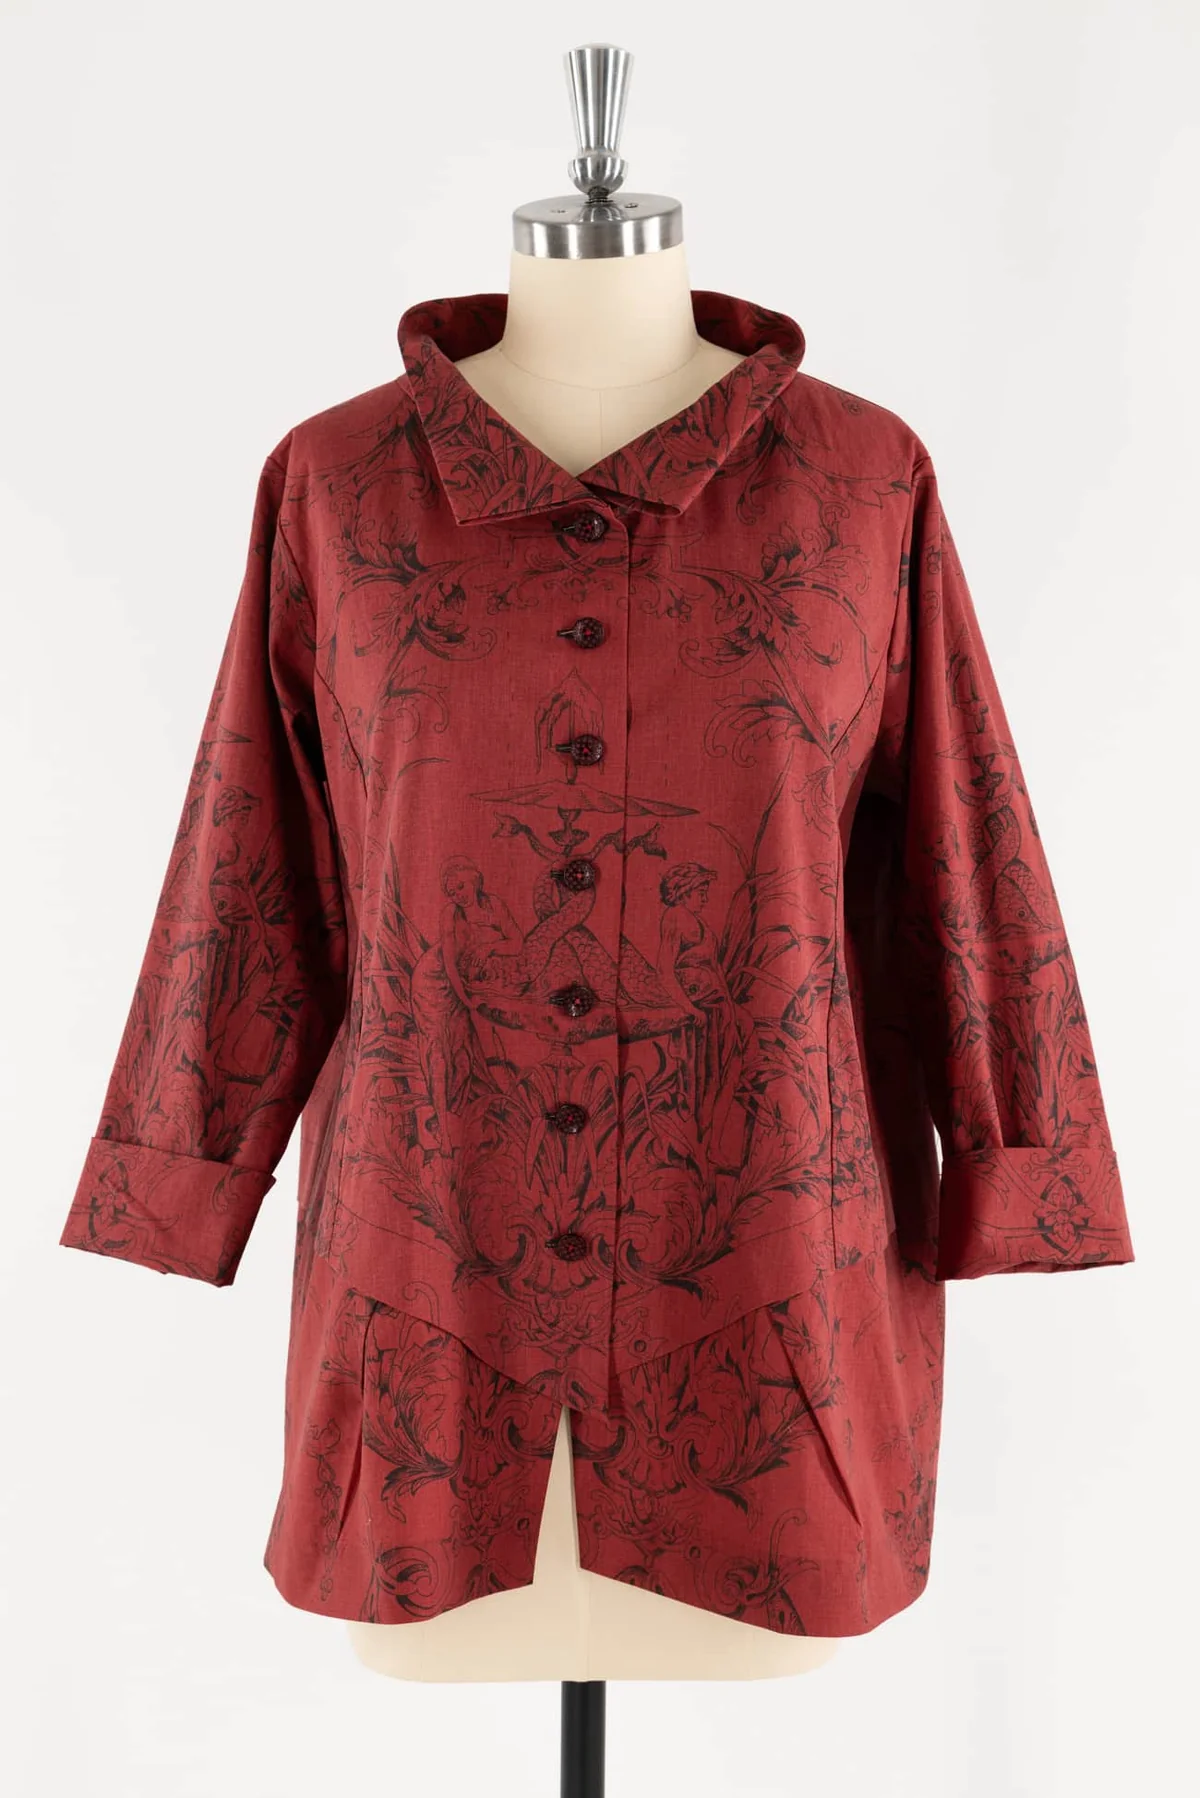
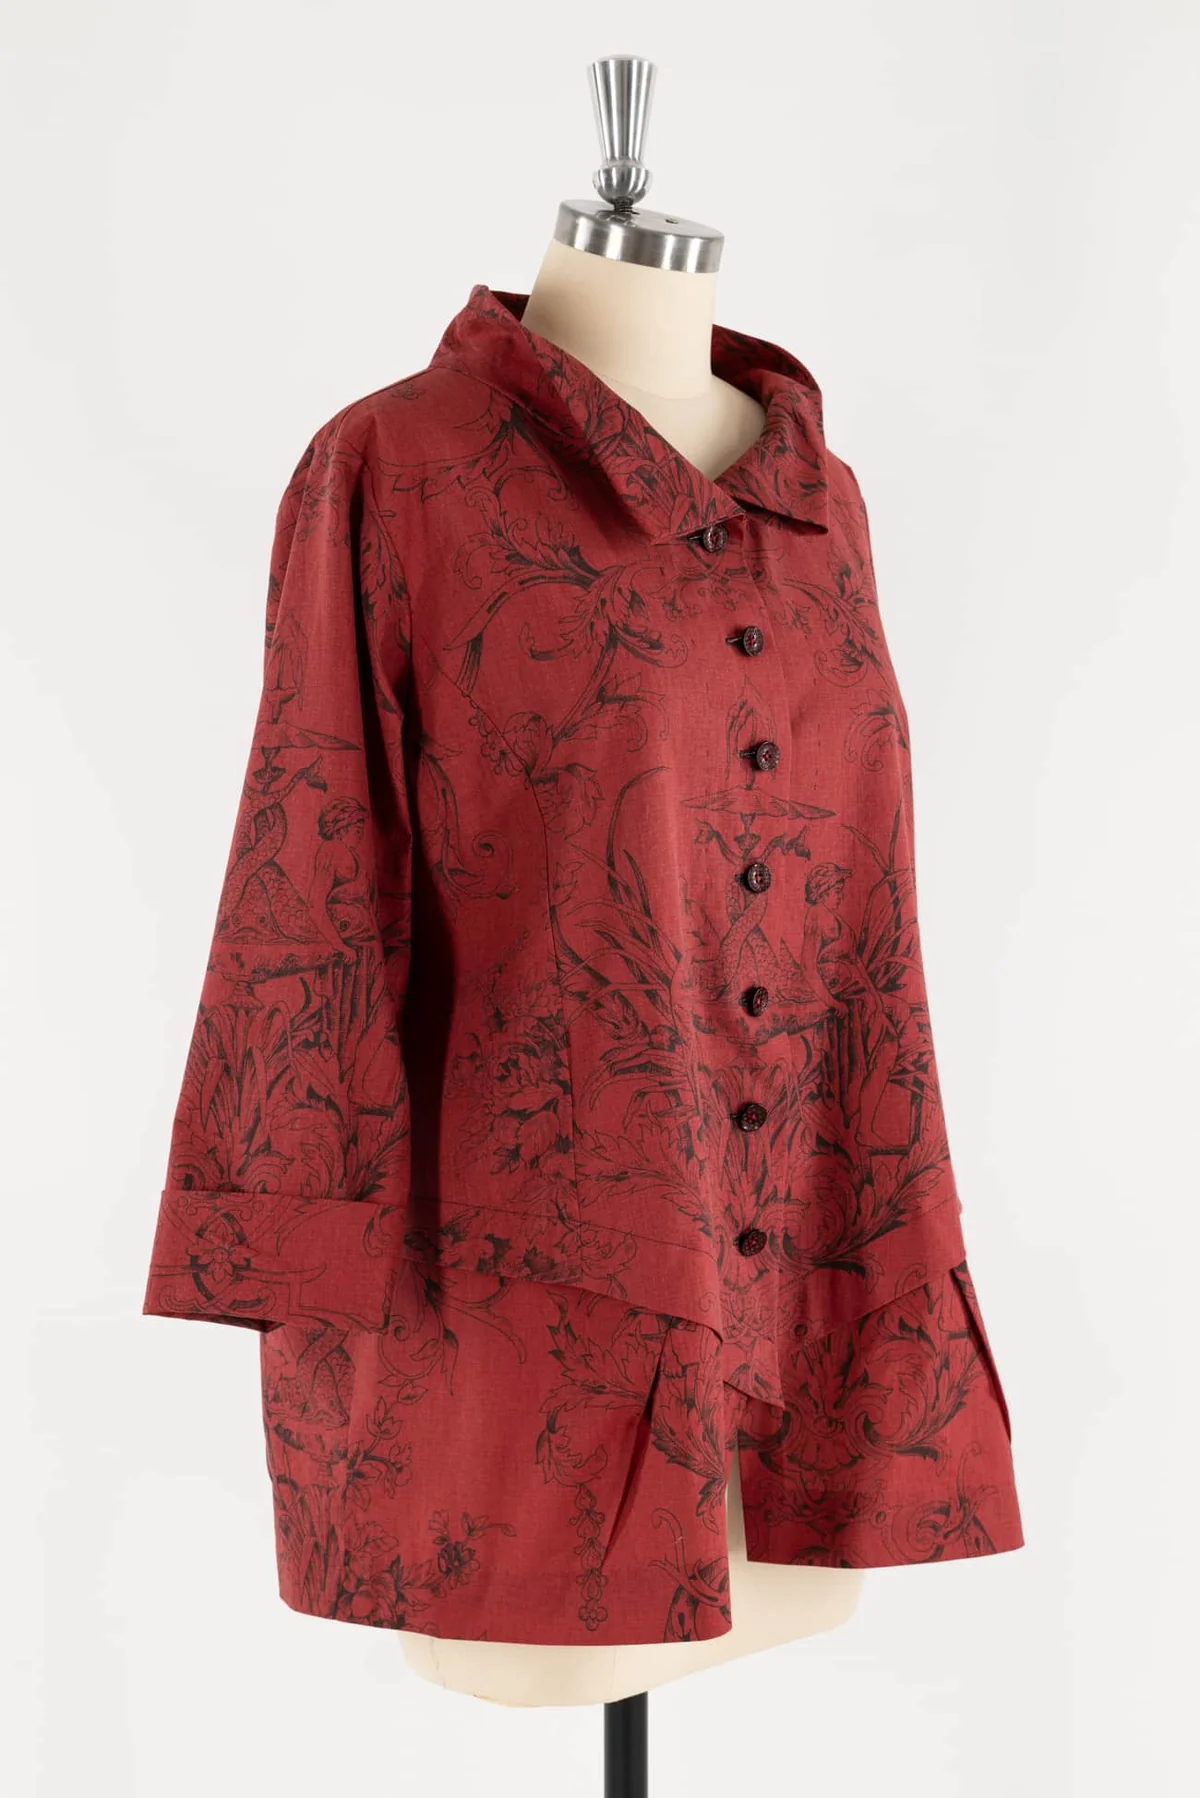
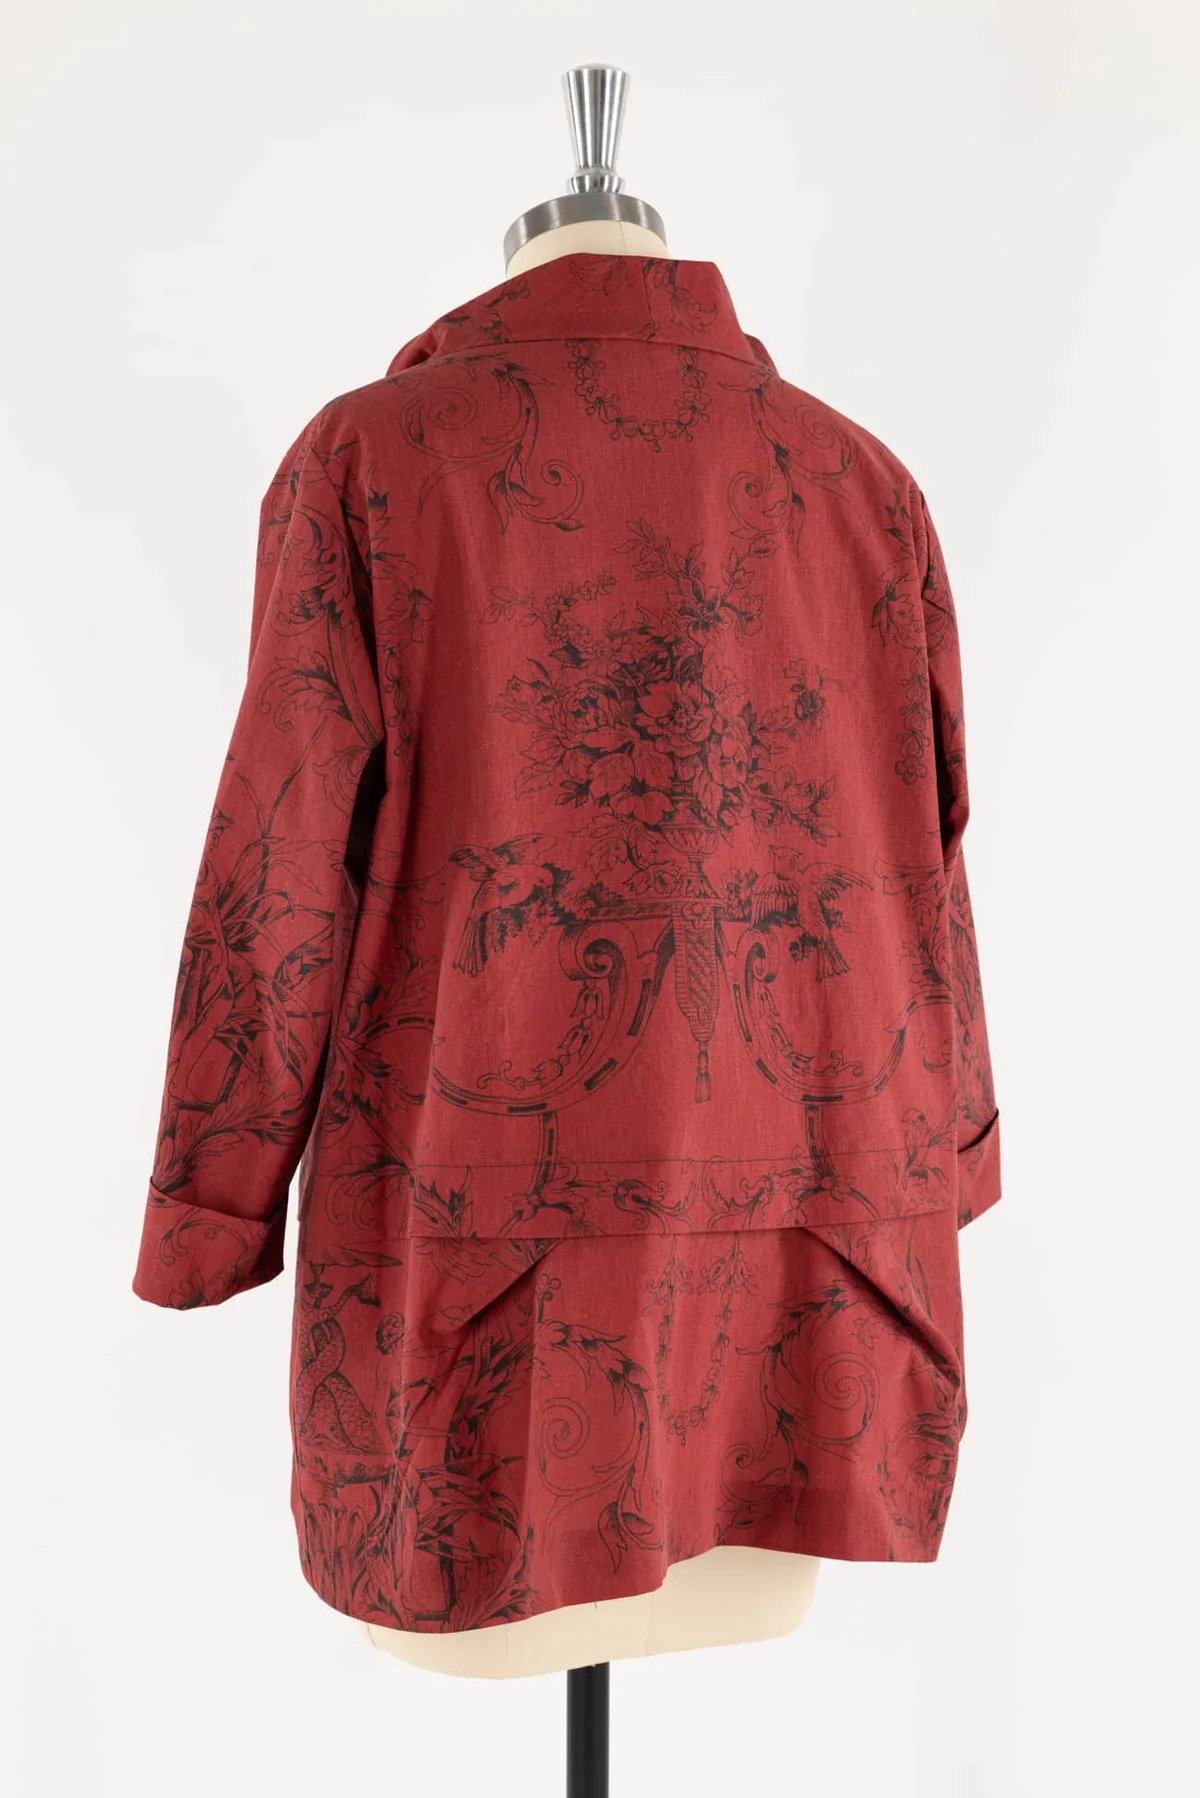
Vogue 1817 in Brick Toile
Marcy says:
Sewing for the transitional season ahead, I chose this Brick Red Toile to add a pop of color to my mostly black travel wardrobe. I modified the original pattern, using the left side, making front & back symmetrical and straightening out the hem. Added a half lining to the sleeves, to the front & back and cut the collar on the bias so it is soft and can roll up or flat. I did my best to center and match the print on front, back and sleeves.

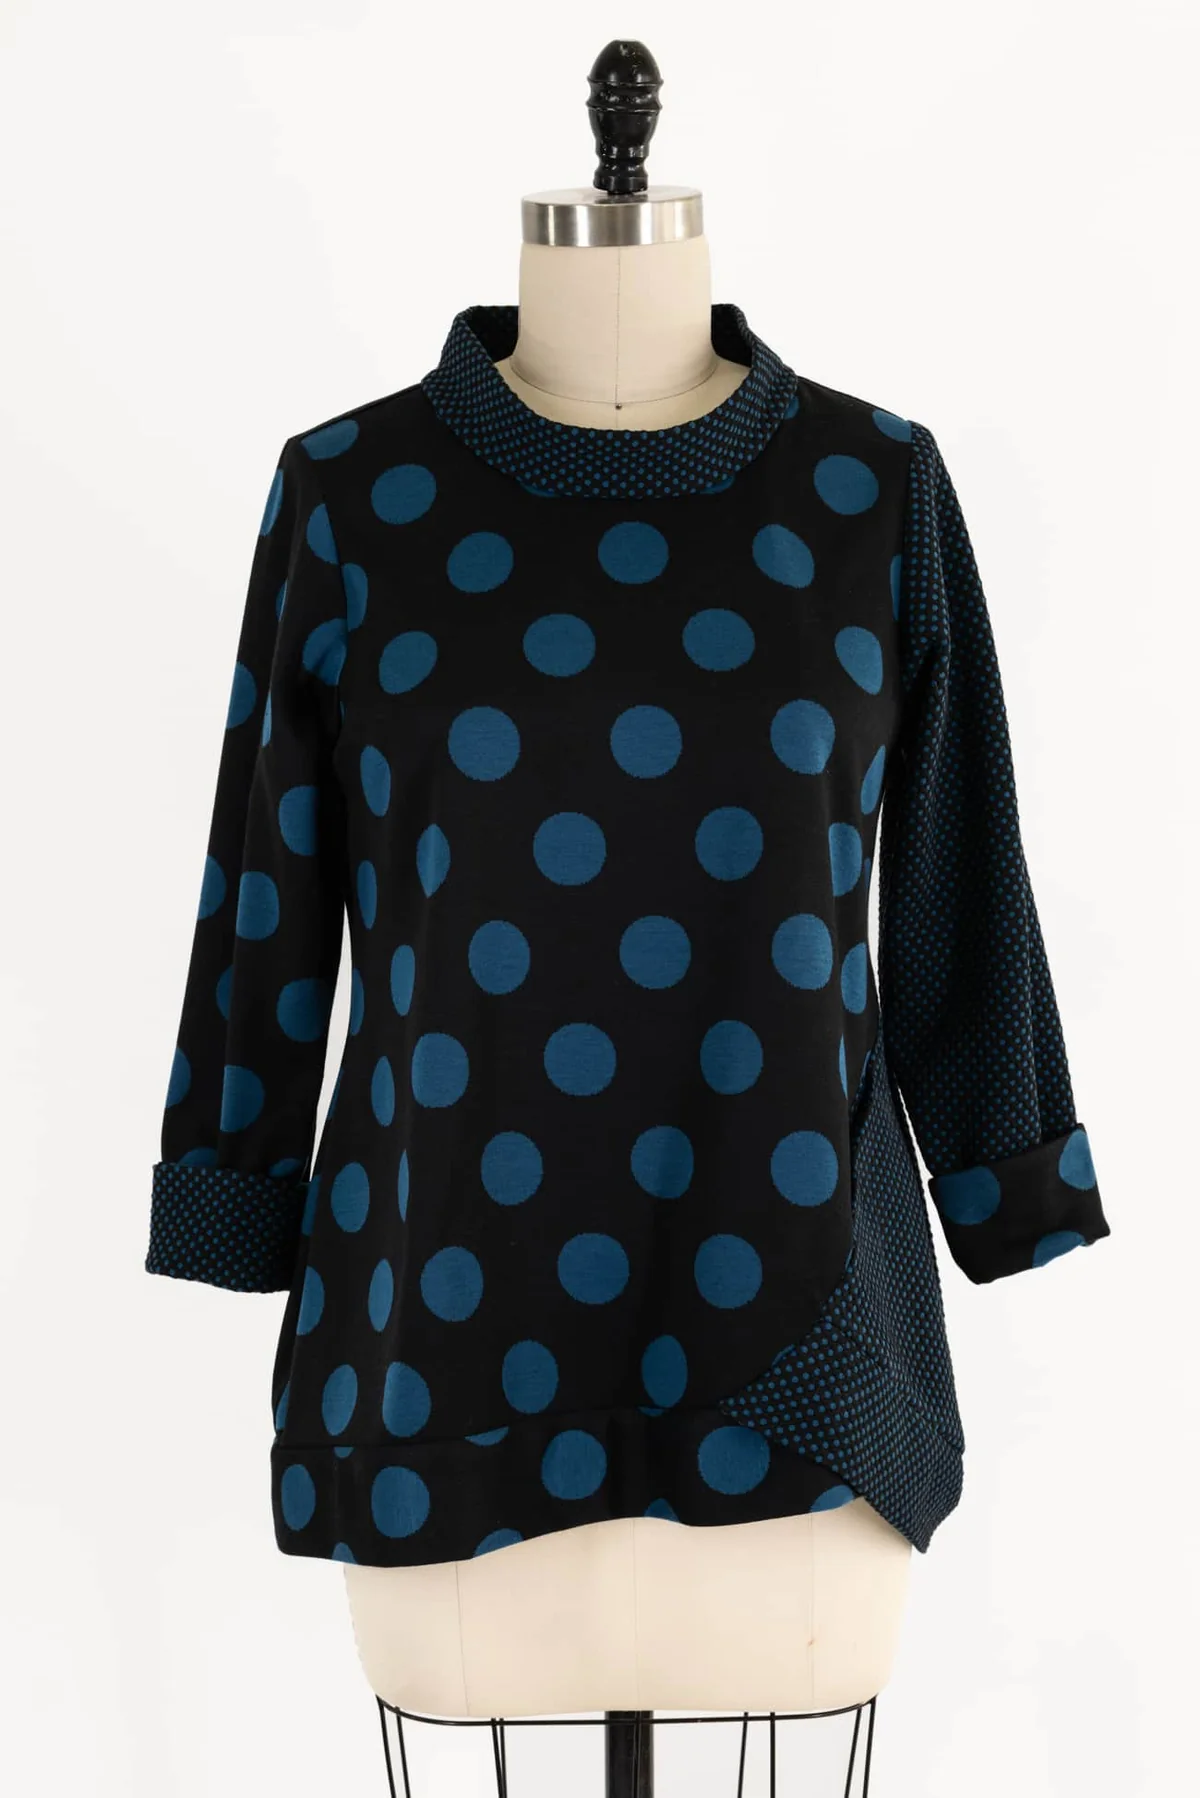
V1847 (out of print), made with Grande Blue Teal Dots and Petite Blue Teal dots, a perfect pairing of sumptuous knits.
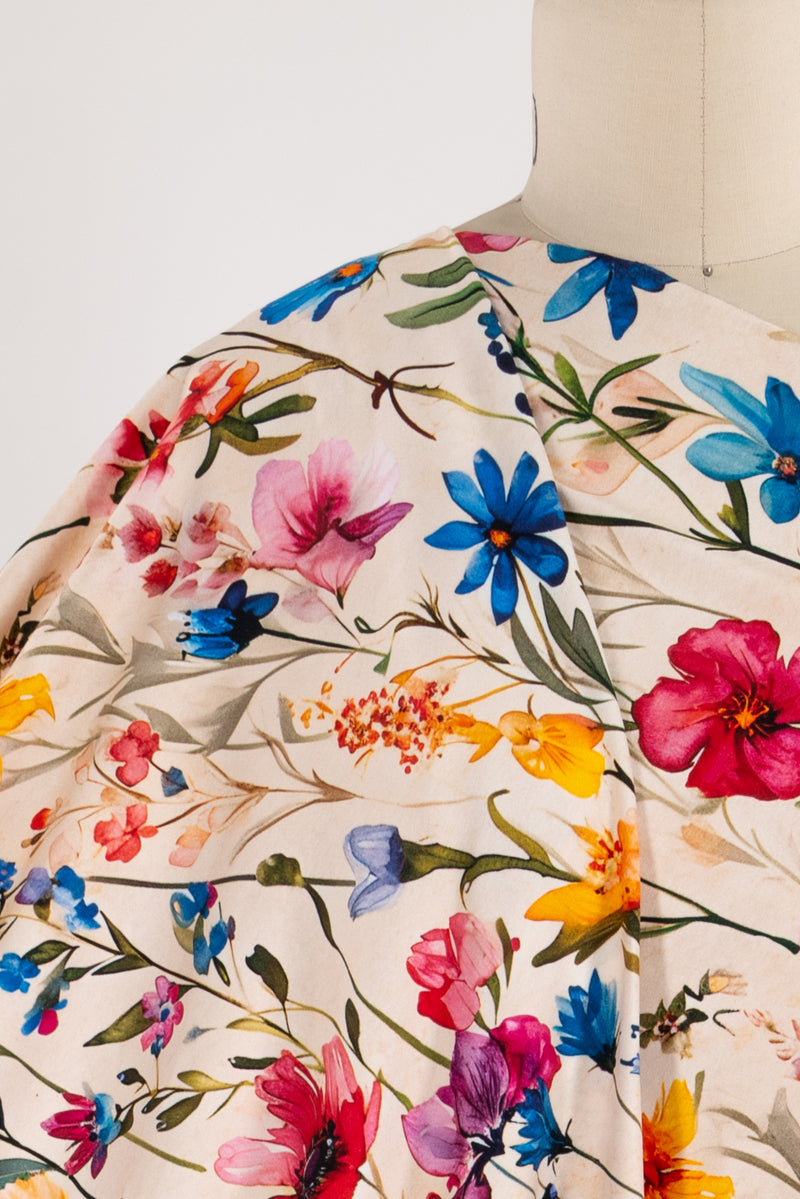
FLOATY SHIRT
The Floaty Shirt (B6995) made with PADMA, one of our exclusive new Indian cotton lawn digital prints created by Marcy and Katherine Tilton in collaboration with the artist who created the original digital paintings. We went back and forth playing with scale and density. It was such a happy moment when the fabrics finally arrived...they are even more beautiful than we imagined!