Sewing Knit Hems
In this 2-part video tutorial, Vogue Patterns designer and fabric finder Marcy Tilton demonstrates how to sew knit hems using 505 spray and double needles.
Use a spray adhesive like 505 Spray to hold the hem in place as you stitch. Learning this little trick was a ‘Holy Grail-AHA!’ moment for me. You can serge the hem edge, but I find it is often better to simply use the raw edge since serging can cause stretching.
First, press the hem in place. I prefer a 1 to 2-inch hem width, and I press the hem up before sewing the side seams, as it is easier to work on the garment when it is flat. Use an oak tag pressing template for an even hem.
Apply the adhesive spray to the hem width. Protect the table surface from overspray with a layer of paper or place the garment in a shallow box. Use paper to mask off the hem area, spraying a section at a time using even application of spray adhesive. Carefully stick the hem in place and it is ready for machine or hand stitching.
Use any width double needle. I prefer the 4.0mm #12/80 size. Wind wooly nylon in the bobbin, black for dark colors, beige for light.
Topstitch using the double needle and a 2.5mm stitch length. You can mark the stitching line on the outside using disappearing chalk (it disappears when pressed), working on the right side of the garment, stitch slowly and carefully.
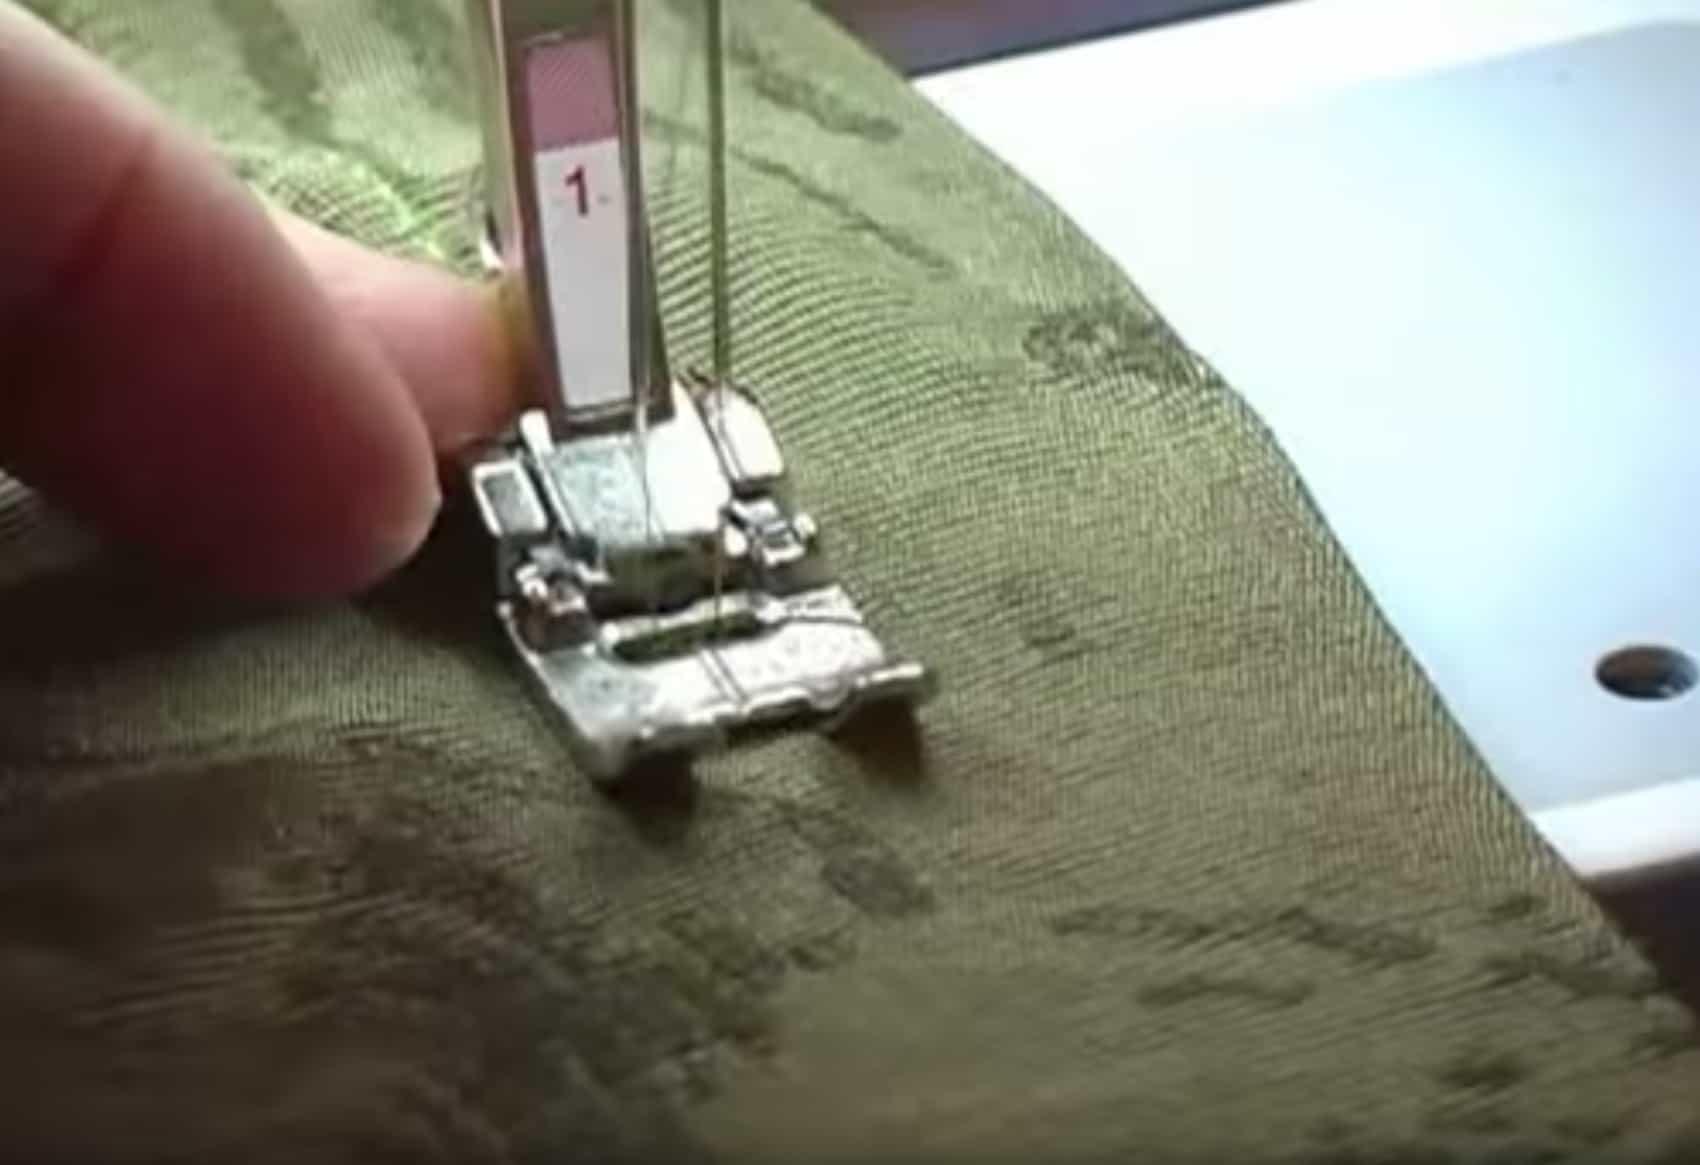
This works like a charm, wooly nylon in the bobbin keeps the knit from stretching in most cases. BUT…if you see your fabric stretching, use stay stitching and as you sew, apply pressure to the back of the presser foot, using one finger and an even tension. Stitch an inch or two and release. The fabric can look puckery, but a final pressing will smooth it out.
You can use the same techniques described above to topstitch a hem with a single needle, too.


