Vogue describes it this way: Loose-fitting pullover tops have front pockets, back casing with tie, and neckline and contrast variations.
The style has a loose easy fit with dropped sleeve and flattering square armhole, a side slit and is longer in the back with a slightly curved back hem. The length hits just below the hip, though you can adapt easily to lengthen or shorten. We made 2 versions for the pattern using 2 different fabric weights. The collar version uses a mid weight cozy ponte with a zipper front and makes a perfect chic sweatshirt to wear indoors or out. Both versions have drop pockets and a back casing which you can adjust to your figure or opt to eliminate entirely.

The t-shirt version is made in a light weight sweater knit with a classic t-shirt bound neck. The t-shirt has the same body, only the center front is cut on a fold and the neck is finished with a simple t-shirt neckband. We used a stripe for the top on the pattern envelope, but you could use self fabric as well. Another option is to use any knit neck binding you choose.

The line drawings show the details:

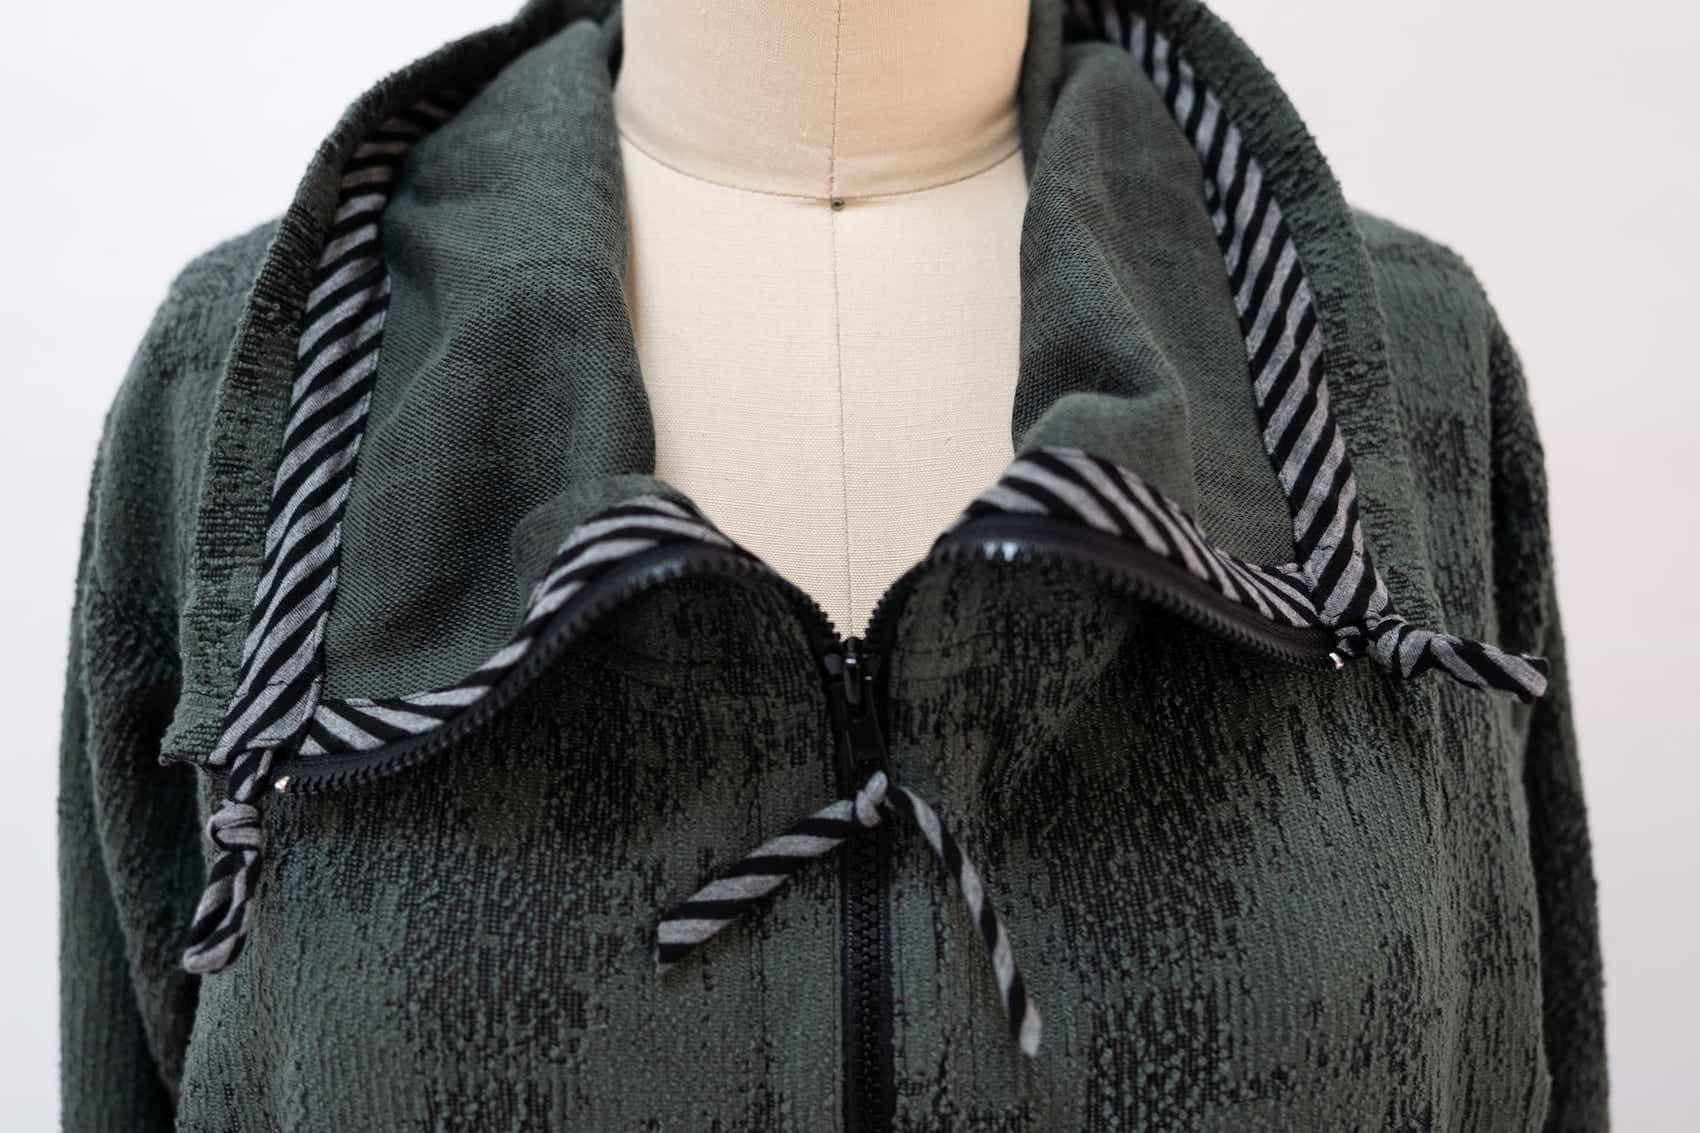
The collar version features a zipper, and as the wrong side of the fabric and seams are exposed when the collar lies open, I’ve finished the seams and zipper edge with strips of a light weight striped knit, a technique that is easy to do and the soft knit feels good next to the skin. On the green version we used bias knit stripe and covered the zipper tape with knit binding too. On the black version, we used crossgrain knit stripe and did not cover the zipper tape.


The two versions of the tops layer well together too, especially if the outer layer is cut just a bit bigger than the under layer, and the fabrics are comparable and slide easily over/under each other.
Suggested fabrics:
Knits such as ponte, fleece, jersey, sweater knits, double knits, sweatshirt fabrics
Construction and Design Tips:
Interface the pocket opening with a 1” strip of fusible tricot so the stable direction of the interfacing will prevent the pocket opening from stretching. Center the interfacing over the pocket fold.
Interface the zipper opening with a 1” strip of fusible tricot so the stable direction of the interfacing will prevent the zipper from rippling.

Interface behind the buttonholes for the casing.
I used a longer zipper than the opening, shortening it from the bottom, keeping the bottom of the zipper free of the horizontal front seam.
We used contrast knit stripes for the casing, and a strip of knit for the tie. You could use ribbon, braid, self fabric or even a woven for the casing. Or, you could choose to eliminate it entirely. The short edges of the casing are left raw as knits do not ravel. Thread a ribbon or cord or strip of knit through the casing. Adjust fullness. Tie a knot in the end of the cord. Stitch along the short edges of the casing to hold in place.

Marcy’s Versions:
This version is a prototype for the pattern, I used our Speckles Sweatshirt Fleece and scraps of a stripe from my stash for the seam finish.I used a longer zipper than the opening, shortening it from the bottom, keeping the bottom of the zipper free of the horizontal front seam. To assure a smooth ripple free straight zipper, interface the zipper opening and hand baste the zipper in place before machine stitching. This is worth every second of time it takes to hand baste, as it prevents the fabric from bunching up while machine stitching.


Here, another prototype, made in a light rayon jersey, (sold out) - this top works well layered under the version shown above.

For this version, made in our Verdigris Patina Ponte, we used a separating zipper, opening the top up down the center front.


Interface behind the zipper opening with a 1” strip of fusible interfacing, using the stable direction parallel to the zipper so it will keep the zipper from rippling. Why a 1” wide strip? You want the interfacing to stabilize the fold edge as well as the area directly behind the zipper where the stitching goes.


