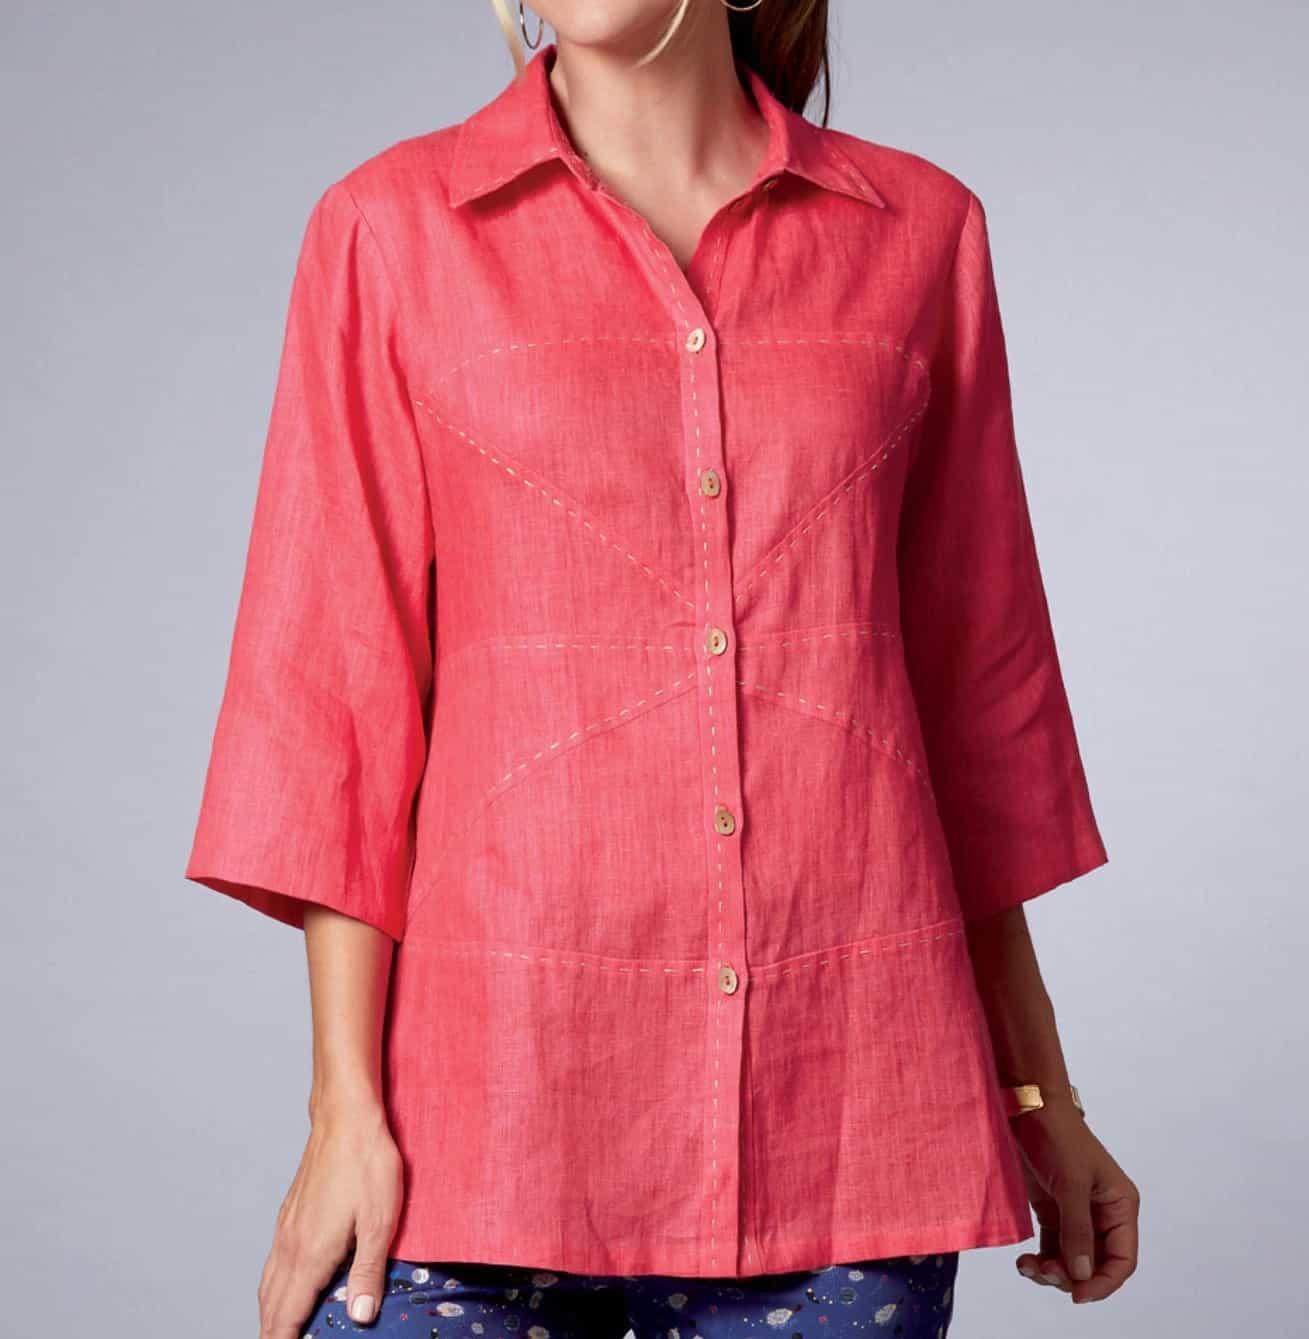
The goal is to make a FBA for a pattern which has no darts, working with my new Butterick pattern B6667.
This is such a cute blouse you may want to make more than one version. In that case, I consider the first version a fabric ‘muslin’ so I can fine tune the dart and the fit. First, be sure that the rest of the pattern fits you in the shoulders, back and hip.
This is how I do a FBA:
- Collect all the front pattern pieces.
- Pin the front pattern pieces together by overlapping seam allowances and lining up seam lines.
- On another sturdier paper, make a full size copy of the front.
- Mark the lines where the pattern piece seam lines meet.
- Using a full length mirror, ’try’ the pattern on by holding it up, aligning center front and shoulder line.
- Mark the apex/peak of your bust on the paper. (Drawing A-1 marked in red.)
- Measure how much you need to add so that at the side seam the front will meet the back giving the ease and extra you need.

Marcy refers to this as the Dolly Parton part of the adjustment. ‘You have to not only go around the mountain but up and over the mountain’. Which translates to adding not only width to the front but length as well. If length is not added, the garment will ride up at the front.
- Make note of how much to add for your FBA. For example, if you want to add 2” overall, you will add 1” to the pattern. This will be the width of the parallel red lines in drawing B from 1 to 4.
- Draw a line from the apex (A-1) to the armscye about 1/3 of the way above the side seam line (A-2).
- Draw a line from the apex (A-1) to the side seam (A-3), angling slightly below the apex.
- Draw a line from the apex (A-1) to the hem (A-4). This line should be parallel to the center front.
- Cut along blue dotted line from hem (A-4) to apex (A-1).
- Keep cutting from apex (A-1) to armscye (A-2) but do not cut all the way through the seam line. Keep a small bit attached so the piece can pivot.
- Cut on blue dotted line from side seam (A-3) to just inside the apex mark (A-1). Keep a small bit attached so the piece can pivot.
- Cut on blue dotted line from B-5 to B-6.
- Pivot left side of pattern (as seen in illustration B) from B-2 , keeping lines B-1 & B-4 parallel. It works well if you have a gridded board to do this on and weights to hold the pattern in place. For this example we want a 1” space between the parallel lines.
- Let the dart determine itself.
- Fill the spaces with paper, including B-6 to B-5.
- Try the pattern on again and re-mark the apex (illustration C)
- Mark the spot that will be the end of your dart. General rule is the end of the bust dart comes 2” to the side of the bust apex.
- Re-draw the pattern lines on the new pattern pieces. These are the green lines in illustration C.
- Re-mark grain lines and notches on each new front pattern piece. Grain line runs parallel to center front.
- Cut the six pattern pieces apart and add seam allowances and notches.


