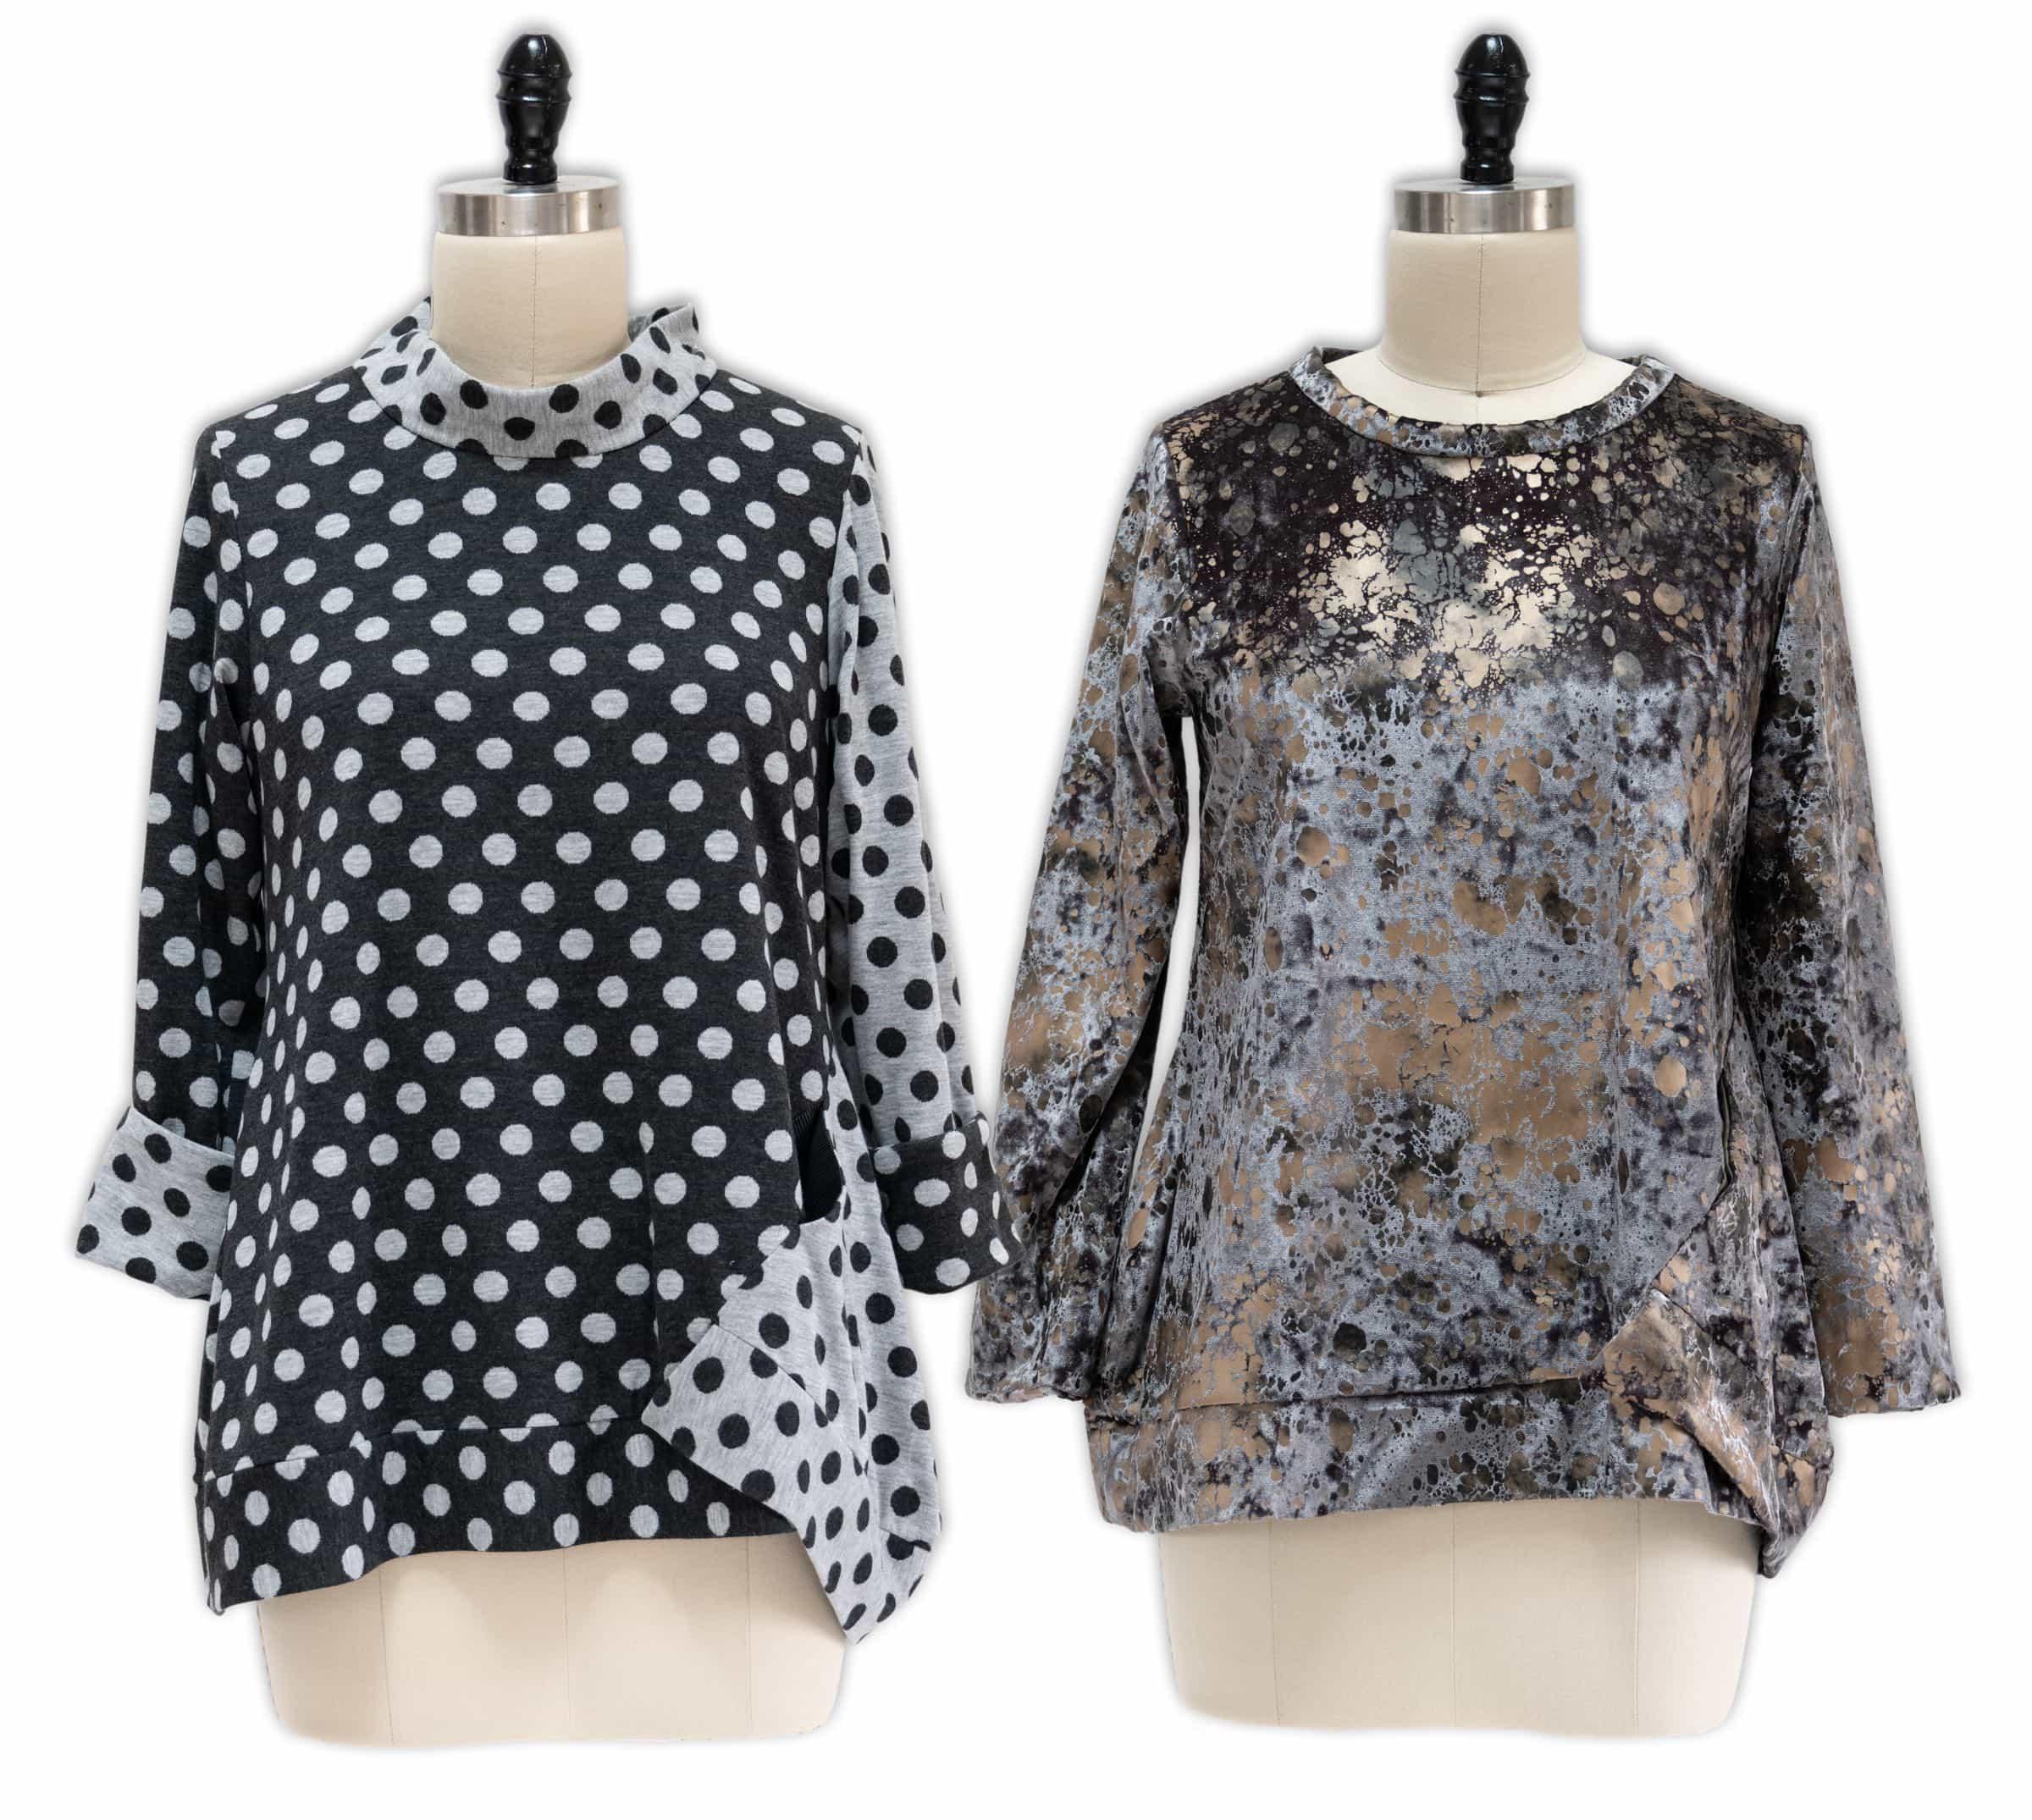
Suggested fabrics: knits in light to more substantial weights such as ponte, jersey (wool jersey, cotton/lycra jersey, rayon/lycra jersey), light weight sweater knits, wool double knit, French terry, sweatshirt knits, velvet/velours knits, recycled t-shirts and sweater knits. You could also combine different weight knits. It makes a wonderful basic in a solid color - ideal in black (or brown or navy). The pattern pieces also work well to combine different patterns or stripes or color blocking. In a light weight knit the top will hang closer to the body, in a heavier fabric the sculptural lines are emphasized. I like it both ways!
Pattern Envelope Garments
For the pattern envelope garments I used a stretch velvet knit and double sided dotty sweater knit. The dot fabric top uses both sides of the fabric so the seaming detail is emphasized.


First Prototype Garment
To test out the pattern I used a panel fabric from my stash, a substantial double knit, about the weight of a sweatshirt fabric. The fabric had a striped band at one end of the panel which I used for the stand up collar band. This has become one of my favorite cool weather tops!


Second Prototype Garment
I liked the first prototype so much I tried another version using a sweatshirt weight hemp fleece for the body and some ready made t-shirts I’d been collecting just for a project like this - I got some camera themed t-shirts on sale, so played with the images to see how they would fit into the pattern pieces. This was a trial and error project and I LOVE this kind of sewing/designing. Because the weights were different, I made the right sleeve using a double layer of the t-shirt fabric, used different bits for the neck band and sleeve facing. Because I had already made the garment I assumed I did not have to fit as I sewed….WRONG move. When the garment was finished it ended up being too big because of the stretch and drape of the fabric…so now it lives in Katherine’s closet, but I enjoy it whenever she wears it! 


Sewing Tips:
I sewed the entire garment with a walking foot.NECKBAND version #1: stand up band.
- This version is a 1 to 1 relation to the body of the garment.
- The band should measure the same as the neck opening along the seam line. Double check and adjust as knits respond differently,
Here are my notes for the Hem Band - might be a new technique, so do read the pattern directions and use these for reference.
Hem Bands: I’ve included process shots here.
The right and left hem bands are constructed separately, sewn as described below, and stitched to the garment separately
- Stitch both of the side seams of left and right hem band. Trim seams, press open.
- On left band, fold in half lengthwise wrong sides together and press fold in place and baste raw edges together.
- Stitch the short straight ends of right hem band together.
- Angled short edge on left band is a raw edge.

- Trim seams, press open. Fold in half lengthwise wrong sides together and press fold in place and baste raw edges.
- Stitch bands to garment:
- On left hem band, match at side seam, right sides together, pin long band to the right side of the garment front and back, matching dots C & D. Stitch with band on top, easing as needed - the band is slightly smaller than the body seam. Press flat as sewn, press seam up toward body. Serge.
- On right hem band, right sides together, match at side seam, right sides together, pin band to left side of the garment front and back.
- Stitch both bands to the garment, matching side seams, notches and dot markings.
- Stitch left band first:
- On the long/left hem band, stitch band to lower edge of garment to the lower edge of triangle extension (edges are raw at this point).

- On the short/right hem band, stitch to left front and back side, matching at side seams and position finished edges of band at dot A.

- Stitch between dots A on front and back, stitching with band on top.

- This is the tricky bit! Position the short band so the right side of the band rests on the right side of the side front.

- Wrap the unfinished long edge of the long band around the seam on the short band, matching reference points. Baste. Stitch. Press flat as sewn.

- Press band seams up toward garment.
- Serge raw edge of band seam through all thicknesses to finish
- Hand stitch short angled edge in place.


