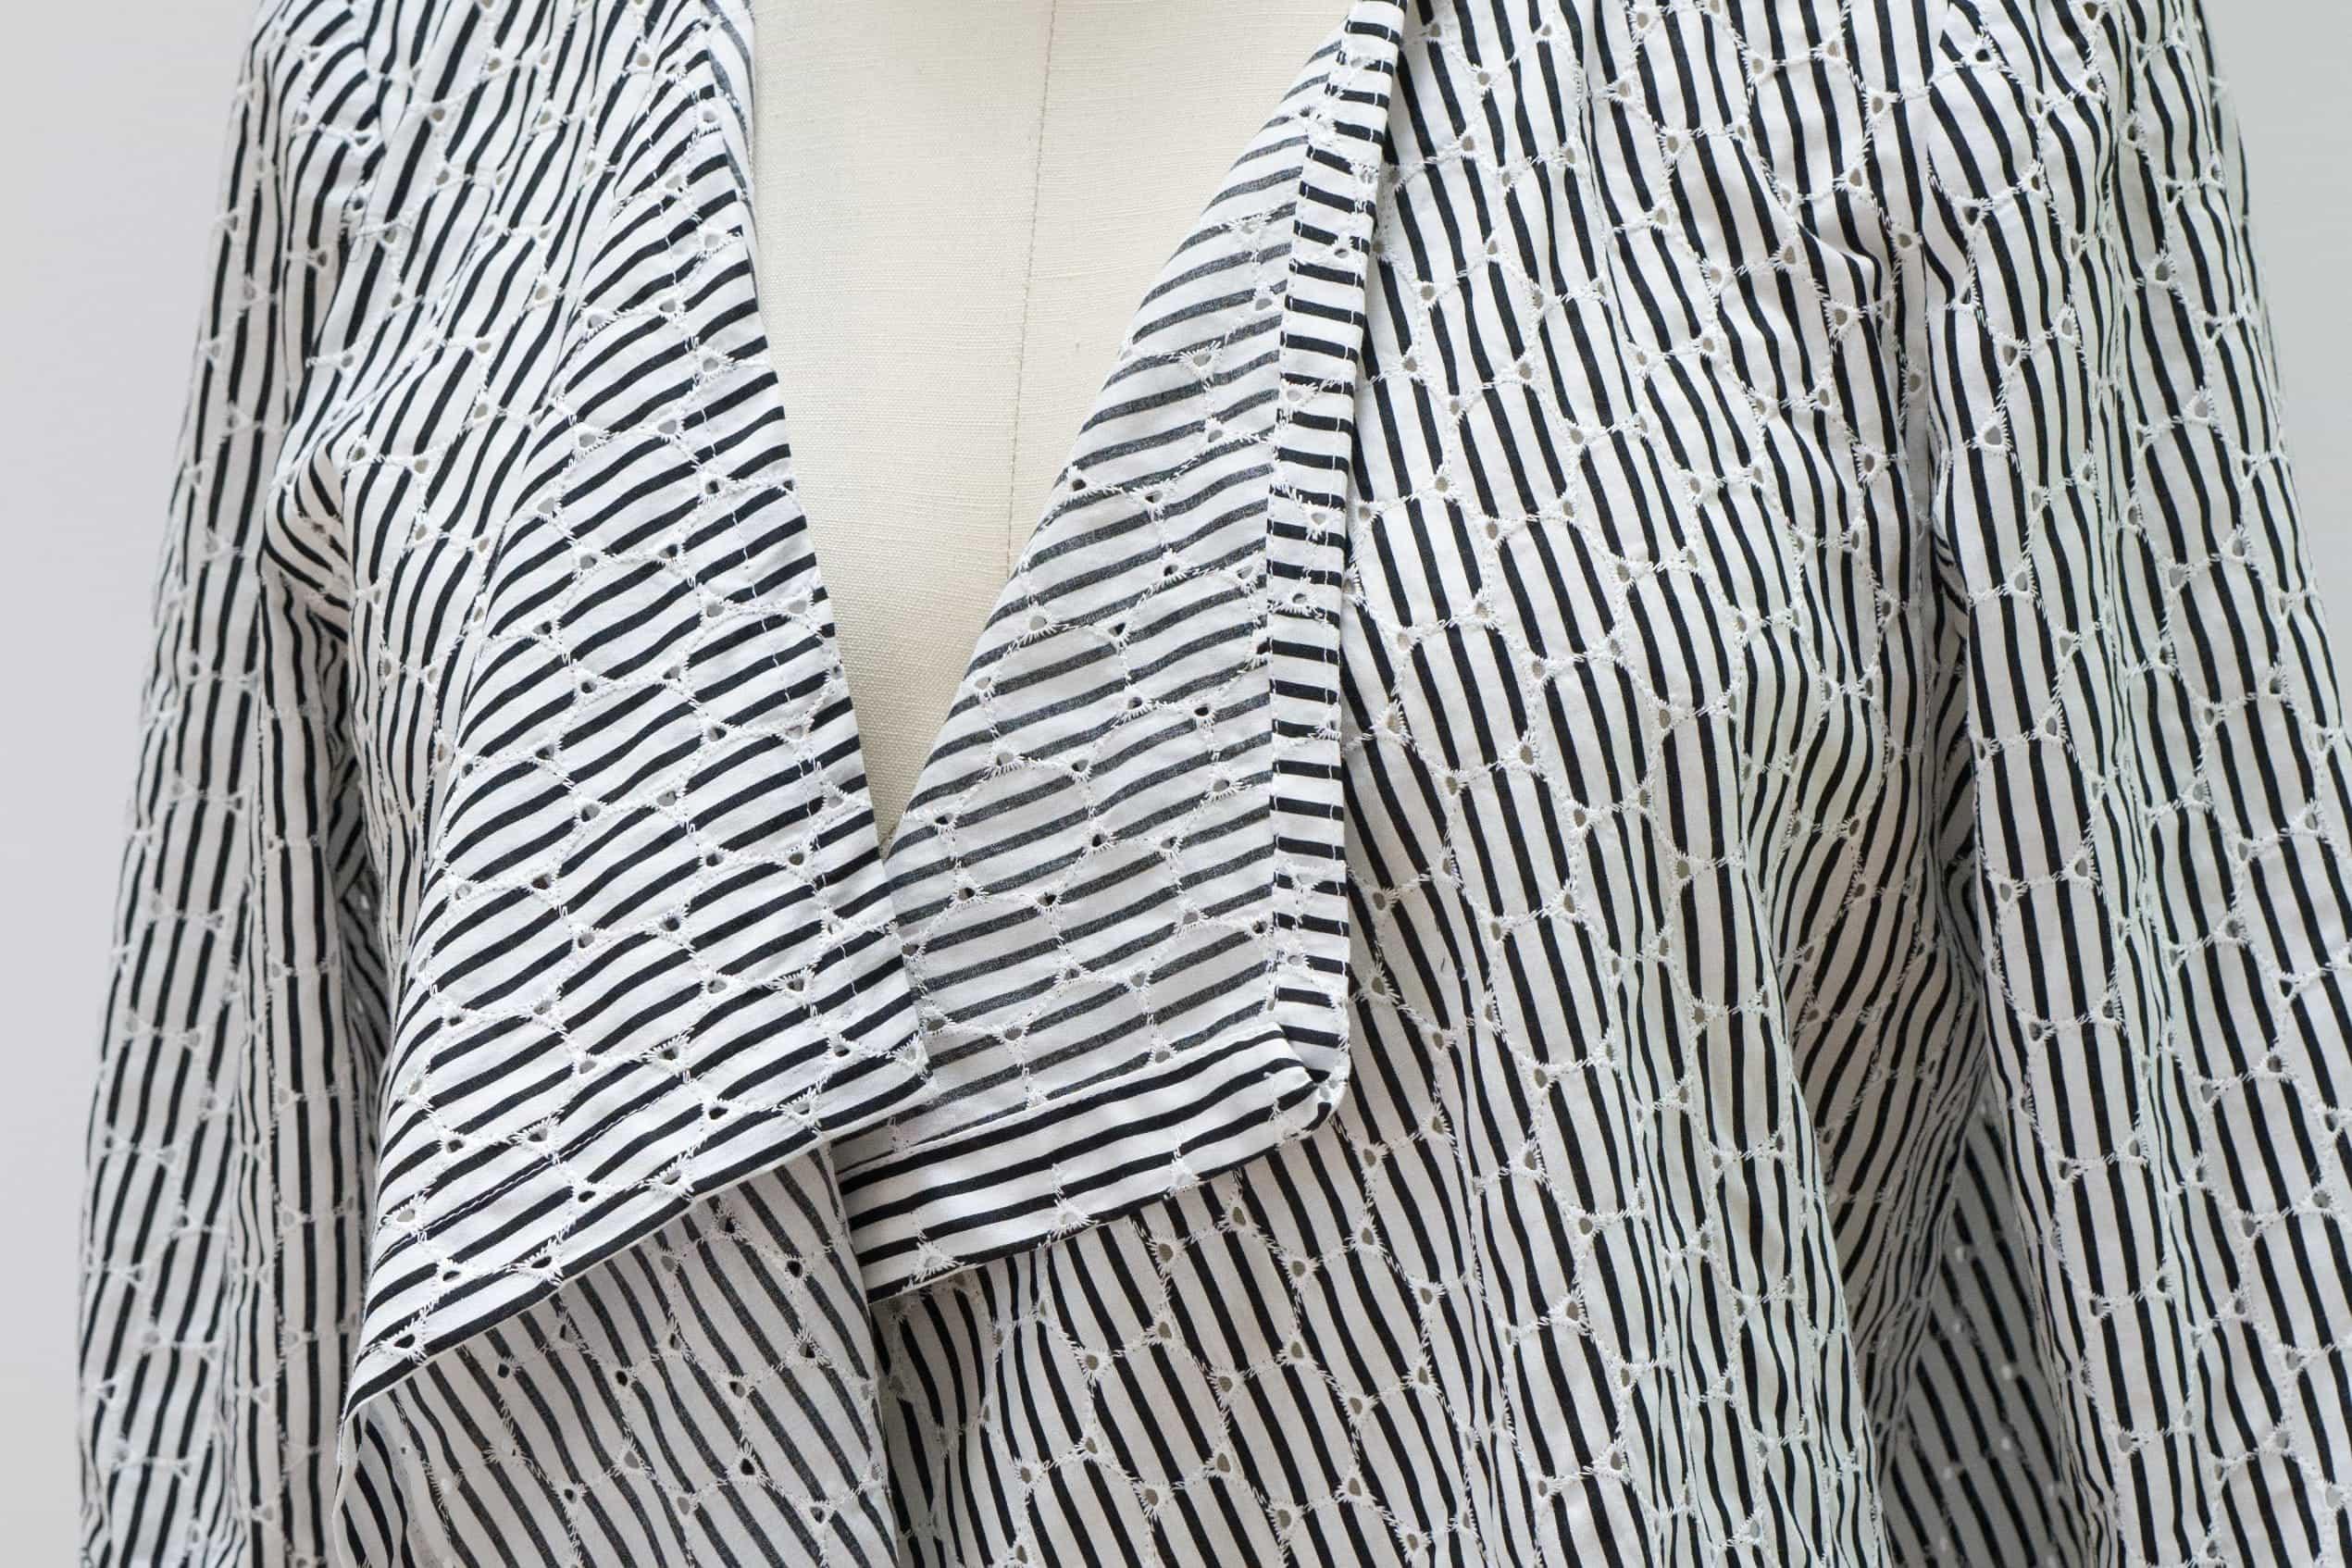

Pattern Tweaks to Vogue 9190
Took 3 yards of our Bossa Nova Cotton Eyelet and ended up using all of it, so glad to have an extra bit so I could cut the yoke on the bias - this an afterthought and a good thing - makes the back more flexible and comfortable. I worked with my own master pattern which has no seam or hem allowances, making the changes using intuitive guesstimates as the pattern is designed for knits and I used a woven. Translated, I got out the pattern pieces, studied them, thought about it overnight, played with holding the front up to myself, measured some favorite garments to figure out the back length, then started the pattern work. All this compounded by the fact that the pattern is designed for a knit and I was working with a woven. A bonus, is that the eyelet had a bit of crosswise stretch due to the holes and embroidery. I wanted the shirt to have some extra ease so each step of the way I made an educated guess. In effect, this is a muslin that worked!As shown in the photo below, I kept records of the changes on the front of the manila file folder used to store the pattern. I will make this again, it was fast to sew even with time out for fitting and futzing. Started late in the afternoon, finished it up the next morning.
- Lengthen 6”
- Lengthen the front within the body, re-drawing the lines at center front
- Lengthen the back at the hem
- Add ½” to front and back shoulder depth at the shoulder seam to make a deeper armhole
- Add 1” to center back
- Used a 1” seam at the front neck extension so the seam could be turned under, requiring no facing or binding.
- Kept the drawstring effect on the hem, used ribbon, just pulls it in a bit in a good way!

The pattern pieces with cryptic notes.

Eyelet Sewing Tips
Pre-treating
- Pre-shrink by machine washing gentle with cold water, low or no spin and air dry.
- While eyelets are not terribly fragile, it is not a good idea to put them in the dryer as the embroidery thread might shrink at a different rate than the fabric itself.
- Know your washing machine! As a rule, front loading machines are more gentle on fabrics than top loading machines. Making a test is a good idea.
- I took 4 different eyelets from our collection and machine washed gentle and air dried. Laundering caused a bit of puckering, but pressing smoothed things out.
- Each fabric shrank, so do not skip this step.
- The plus: eyelets became a bit softer and shrinking resulted in a bit of stretch on the cross grain. This will vary from fabric to fabric depending on the holes.
Sewing
- Stitch with a sharp #12/80 needle. If your fabric is very fine, use a smaller needle and fine gauge thread.
- Keep seam finishes simple and flat. A simple pinked or serged seam is ideal as you want the seam to be barely visible.
- Make test samples on scraps before stitching up your garment to determine the best needle, thread and stitch length.
- No interfacing needed
- Machine stitched hems work well as the stitching disappears into the embroidery.
Heading Off Trouble With Totally Stable
Stitching over the open holes in eyelet could cause problems. Totally Stable to the rescue.While you can use tissue paper or even computer paper, Totally Stable works like a charm because it is designed as a tear-away for machine embroiderers. It is a fusible too, but I ignore that entirely.
One side has a light fusible and is slightly shiny, the other is matte. It comes in white and black, and I always have some on hand for moments like this. (On a side note, this works beautifully on knits to prevent waffling and rippling).
It does not matter which side is up. I cut a batch into 1" strips, place on top of the area to be sewn and stitch away. On a long seam, just overlap the strips.
I cut the strips in 1" widths, place on top of the area to be sewn and stitch away. Easy. Even works on curves. Curve or cut in sections to fit as Totally Stable is soft and a bit malleable.
It tears away easily, does not get caught in the stitching, even tiny stitches, it sort of dissolves. If some remains in the stitches it is easy to pull out, which is not the case with other papers like computer paper or tissue paper.


Black eyelet pants from Summer 2016 using Vogue 9193

Katherine's Lace Vest
We love the idea of a lace or eyelet layering vest. Katherine whipped up this cool little vest in an afternoon using our Burnt Russet Lace and an out of print pattern. Here are her sewing notes:- Trimmed selvedge so that the scallops would go down the front
- Sewed with a walking foot
- Used a French seam in back of neck & lower back diagonal seamline
- Staystitched neck and armcye edges to stabilize
- Trimmed upper back V edge fabric to form scallops and overlapped them on back. Stitched in place twice with a small zig-zag and trimmed excess on the back
- Armcye seam allowances turned back and zig-zagged in place
- Hem folded over and zig-zagged in place


