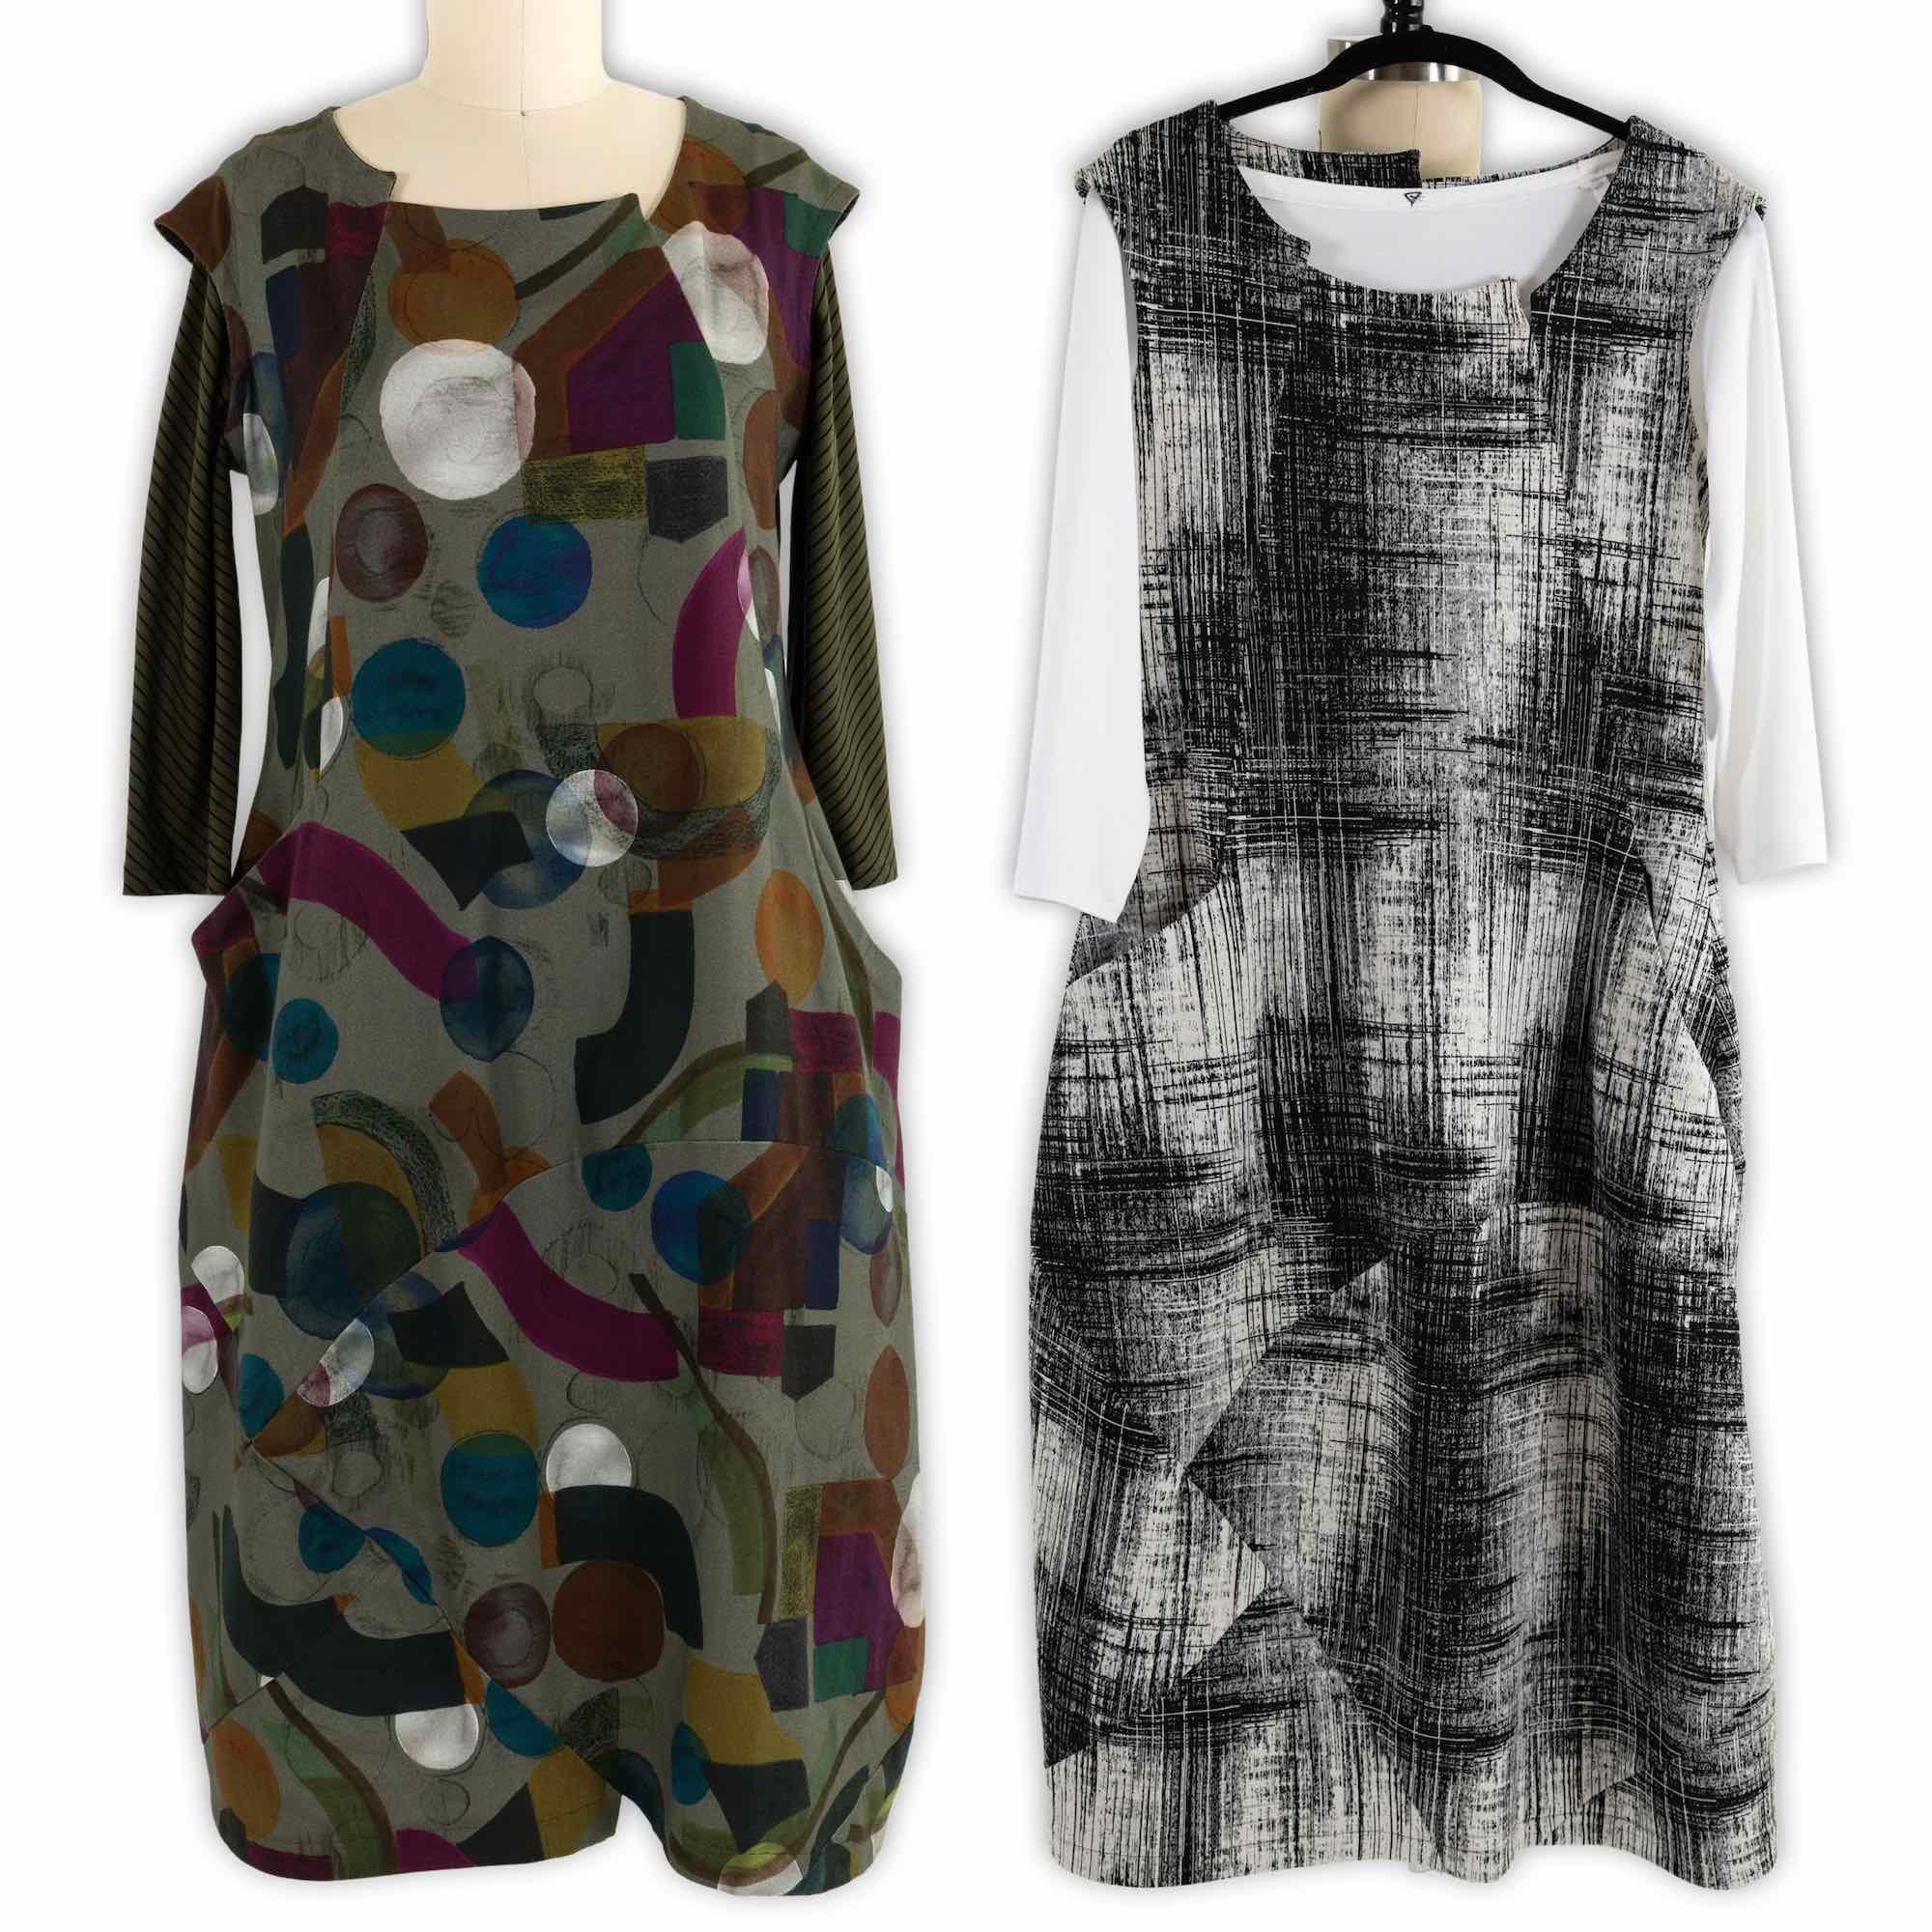
Fabric suggestions:
Stable cotton or rayon/lycra knits with 2 way stretch and good recovery, Ponte, scuba, ‘techno’ stretch woven fabrics, wovens with good stretch and recovery.The t-shirt is fitted with ¾ length raglan sleeves, and is designed to be form fitting to layer under the dress, so neckline of the t-shirt does not show.
Fabric suggestions:
Knits with good stretch and recovery: rayon/lycra or cotton/lycra jersey, poly ITY knits, nylon/lycra knits, stretch lace or mesh.


PATTERN ENVELOPE GARMENTS
For the pattern envelope garments I used a stretch woven in a light blue and white check, and a black and white ponte for the dresses and a rayon/lycra knit for the t-shirt


Before sewing be sure to do your usual fitting and alterations, then lay out the pattern pieces as they will go together to see how the pieces will fit.
Mark and make note of matching points, notches and dots. The photos below show my working pattern which has no seam allowances.


Cutting Tips
- Asymmetrical garments take a bit more time to cut as each section is cut from a single layer.
- I do all the cutting at once, then take the stack of pieces and carefully transfer the markings, sometimes with a clip in the seam allowance, sometimes with a dot made with a dressmaker pencil, sometimes with tailor tacks.
- I color coded the dots - you could do this with tailor tacks in different color threads or colored pencils, making a small dot on the wrong side of the fabric.
- Embroidery floss is perfect for tailor tacks. Make just one stitch, leaving a ½” tail, then gently separate the layers and snip. The embroidery floss is heavy enough that is won’t pull out as the piece is handled, and it is easy to pull out when finished sewing.
- After marking I bundle the pieces as they will be sewn
Start by assembling the back as it will give you a good idea of how the pieces go together.
Sewing Tips
- Sew using a walking foot
- Keep the pattern pieces out and handy for reference as you work.
- Stabilize back shoulder seams and pocket openings with 1” wide fusible tricot, so the non stretch direction is parallel to the seam, and the interfacing is centered over the seam.
- Sew the neck facing while the garment is flat.
- Interface the neck facing with a lightweight fusible tricot with the stable direction going around the neck to prevent stretching.
Hem is 1” deep
- Finish the edge of the hem with serging (optional)
- Stitch around the edge of the hem a scant 1” from the cut edge.
- Use this stitching line as a guide to turning/pressing under the hem edge - the line of stitching forms a ‘rod’ that makes it easy to turn under a smooth hem.
- Form the small jog on the left center back seam at the hem.
- Press hem in place and topstitch or sew by hand.
Marcy’s Dress and T
To test the first prototype for myself, I used one of our French Digital Cotton/Elastine knits, and used a bamboo/spandex stripe for the t-shirt.


