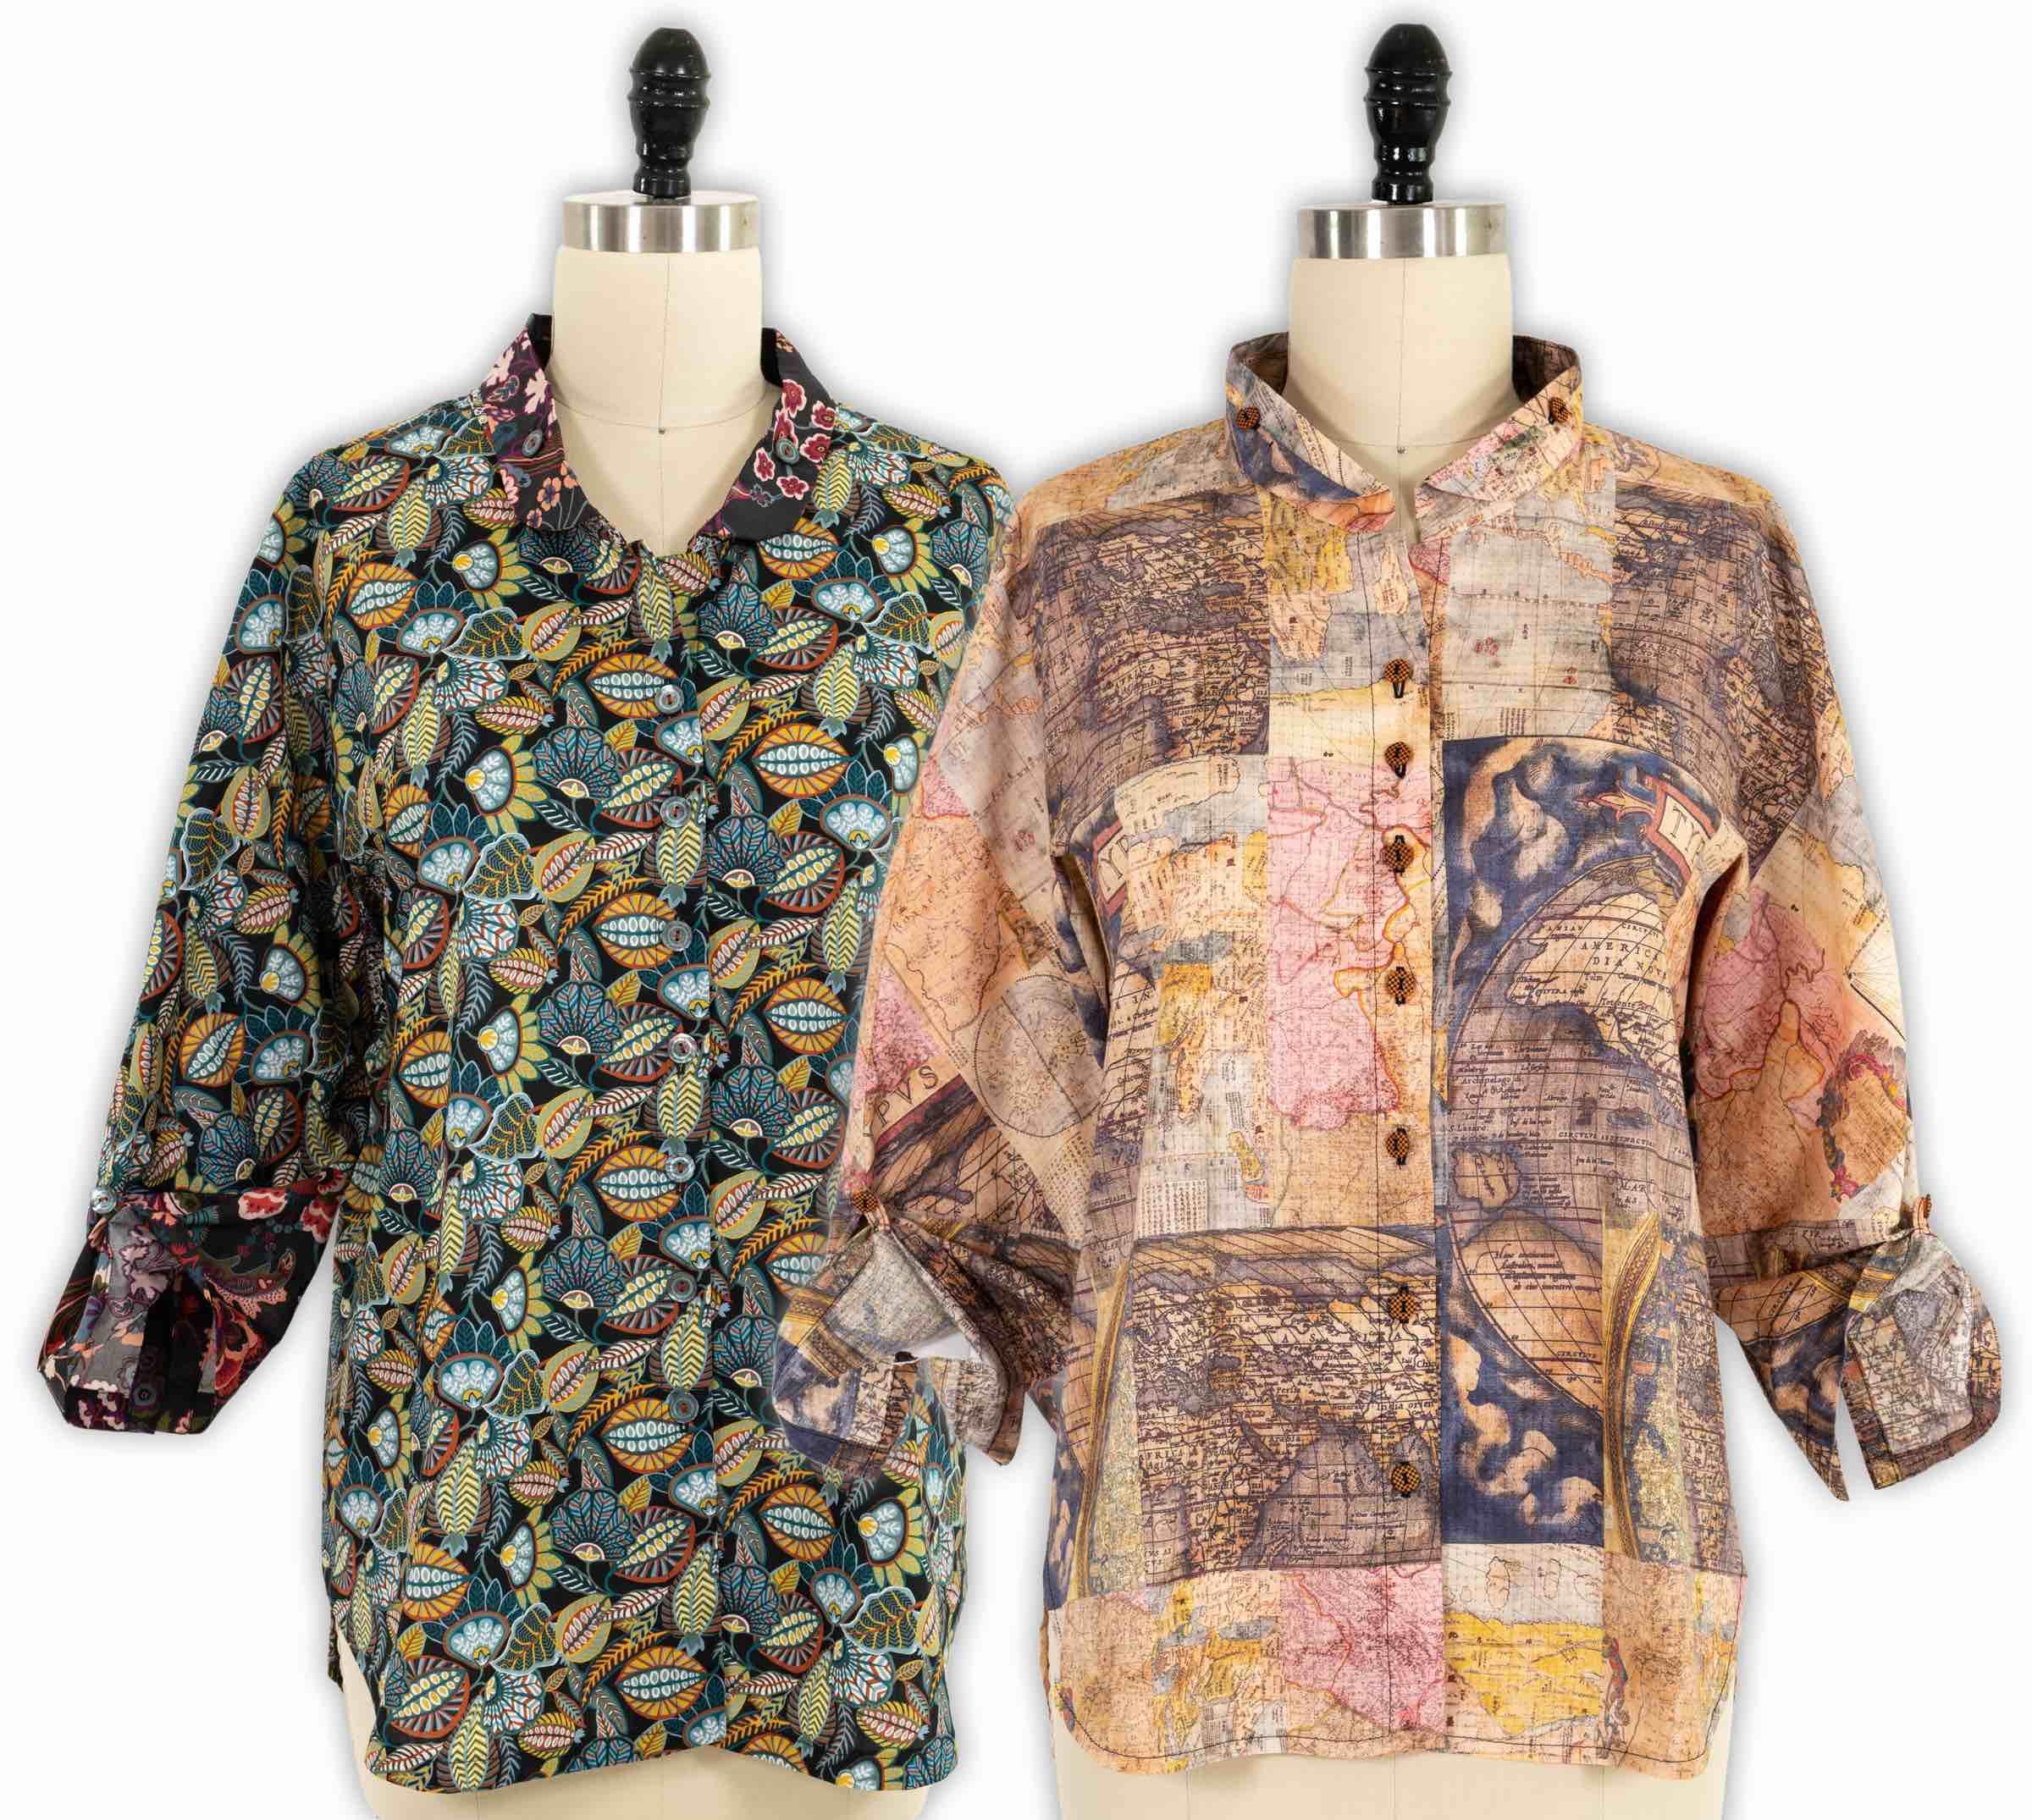
The shirt has a straight lined silhouette, in either a long/fingertip length or shorter hip length, the back longer than the front with shaped hems at the side seam: curved at the back and squared off in the front. The small doubled over collar has a curved edge, machine stitching emphasize the roll line and is secured with functioning button and buttonhole. I love the look and comfort of the all in one sleeve featuring the vintage dressmaker detailing of an underarm gusset which eliminates bulk, (less fabric at the underarm), and maximizes ease of movement, (the gusset keeps the garment in place when you raise your arm). The sleeves are elbow length with clever turn back cuffs that fasten with a loop and button.
Suggested Fabrics: shirting weight fabrics such as linen, cotton, silk, seersucker, fine quilting cottons, lawn, flannel, taffeta.
For the pattern envelope I used a Japanese cotton print and a violet cross weave linen.


The line drawing shows the seam details:

Marcy’s versions:
It was fun to put the fabrics for this shirt together; I chose three Liberty Tana Lawn prints from our A/W 2022 collection: large, medium and small scales in colors that harmonize but don’t necessarily match perfectly. This could work equally well with 2 prints.
I used the medium scale print for the body, the large scale for collar and cuff and the small scale for the gusset and under collar.


Black Japanese Cotton Plisse - This was my very first to test out the pattern and I am loving it. Can wear it on its own, as a jacket with a tank underneath, or layer a cardigan over it.


Construction Tips
Gusset If you have never sewn a gusset before, fear not. There are many videos and how to’s on Google. The secret is to mark all the matching points when cutting out the shirt. Stitch with the reinforcing stitching on top and use it a s a guide, then stitch carefully to each matching point, backstitching just a couple of stitches and breaking the stitching right on or just shy of the dot. Sew the gusset in so the narrowest point goes north/south, pointing to the sleeve and hem on the side seam.
- Sew the gusset to the front seam first - this makes it part of the shirt and easier to then sew the back seam.
- Mark the front/back matching points on the gusset.
- Mark the stitching line on gusset opening on front and back with tracing paper or tracing wheel
- Reinforce the gusset opening along the seam line.
- Stitch using short stitches; take one stitch across at the point. This gives the necessary space for slashing with the scissors all the way to the point.
- Slash down the center between the two lines of stitching, slashing up to the point but not through the stitching.
- Stitch gusset to garment fronts between markings, Stitch with the garment and reinforcing stitching on top, matching dots, using the reinforcing stitching as a guide, pivoting at the corner, breaking the stitching at each dot.
Details
- To get smooth curves on the collar, use a short stitch (2.0) going around the curved edges. Trim the curved edges to a fat ⅛” . This narrow seam makes the curve turn smoothly. Do NOT clip or trim pie shaped wedges! Press flat as sewn, finger press, then turn so the seam sits right on the edge and press.
- Sew the hems in place before sewing the side seams.
Bias Loops: Cut the bias strip longer than needed so the turned tube is longer than you will need for the small loops - makes it easier to cut to the desired length after sewing.
- I sew on the serger, leaving ¼” width for the loop. That way the serged edge fills in the tube and the serged stitch adds stretch for the next step.
- Turn.
- Wet the tube - this is the secret to a skinny loop.
- Working at the ironing board, stretch the wet tube, then secure both ends with pins, allow to dry. This will result in a narrow tube, usually skinnier in the center of the strip which you can then cut to the desired length.
- Match the size of your loop to the size of the button.


